20 Creative Color Paper Design Ideas for Crafting Enthusiasts
Grab colored paper and cut strips to weave vibrant 3D garlands, fold geometric origami stars with eye-catching contrasts, or layer petals into lifelike bouquet flowers.
Try shaping playful fruit slice bookmarks, braid gleaming paper chains for cake toppers, and design mini storage boxes using precise folds.
Play with pattern, texture, and metallic accents—mix bold, pastel, or gradient papers for unique effects. Discover lively napkin holders, dimensional picture frames, and sculpted art shapes. There’s so much more inspiration ahead!
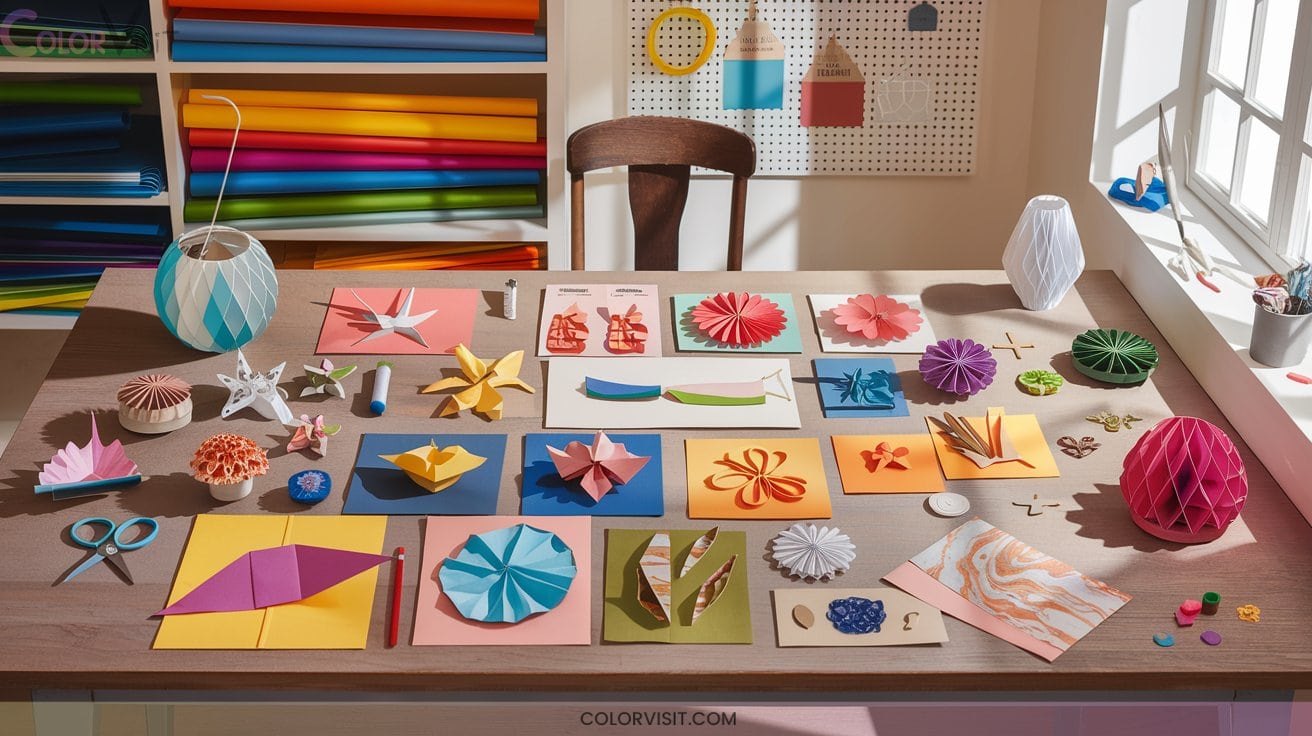

1. Origami Stars With Contrasting Colors

A vibrant origami star begins with your choice of contrasting colors—imagine bold blue strips paired with bright orange, or delicate pastels set against a pop of vivid pink.
Select long, thin strips from textured gift wrap, kawaii paper, or patterned tissue for eye-catching results.
Fold your strip into a pentagon, then weave and collapse along diagonal creases to build precise, sharp points.
Alternate colors for each star, or try gradient strips for depth.
Arrange finished stars on a monochrome background, attach them to wall hangings, or craft dramatic garlands.
Let bold color choices propel your designs beyond traditional origami boundaries.
2. 3D Paper Ball Garlands

Ever wondered how to transform simple paper strips into playful, eye-catching decor?
Start by selecting vibrant paper or shiny ribbon, then cut strips—about 1/2″ wide and 11″ long.
Weave or braid them into spheres, using no glue for a clean finish.
String these textured balls together for a modern garland that pops in any space, from celebrations to everyday home decor.
Experiment with neon hues or metallic finishes for extra flair.
Ready to innovate? Try these ideas:
- Woven paper balls for tactile interest
- Neon colors for vibrant impact
- Braided designs for unique texture
- No-glue assembly for ease
- Stunning room ornament displays
3. Layered Paper Flowers for Bouquets

Bouquet brilliance begins with layered paper flowers crafted in your favorite colors and textures.
Select crepe, tissue, or floral paper—each brings unique texture and structure. Die-cut or hand-cut petals, then pinch and twist for lifelike curves.
Layer petals for dimensional roses or vibrant daisies, building gradients for depth. Anchor petals with hot glue onto stem wires, wrapping with floral tape for a polished finish.
Mix bold center flowers and delicate fillers, weaving in paper greenery for lush complexity. Harmonize hues for striking visual impact.
Display your innovative bouquet in a complementary vase, making every arrangement a work of crafted art.
4. Folded Paper Mini Storage Boxes

Transform a simple sheet of colored paper into a charming mini storage box that’s as practical as it’s decorative.
Start with a vibrant square sheet—think bold patterns, metallics, or translucent hues.
Fold crisp valleys and sharp mountains, following intuitive origami steps. No glue needed—just precise creases and a creative touch.
Arrange your finished boxes on your desk or gift them with flair. Experiment with mixed media for a personalized twist.
- Store jewelry, beads, or office essentials
- Use recycled or patterned papers for eco-style
- Explore intricate origami box shapes
- Decorate with ribbons or stickers
- Find tutorials on YouTube or TikTok
5. Colorful Fruit Slice Bookmarks
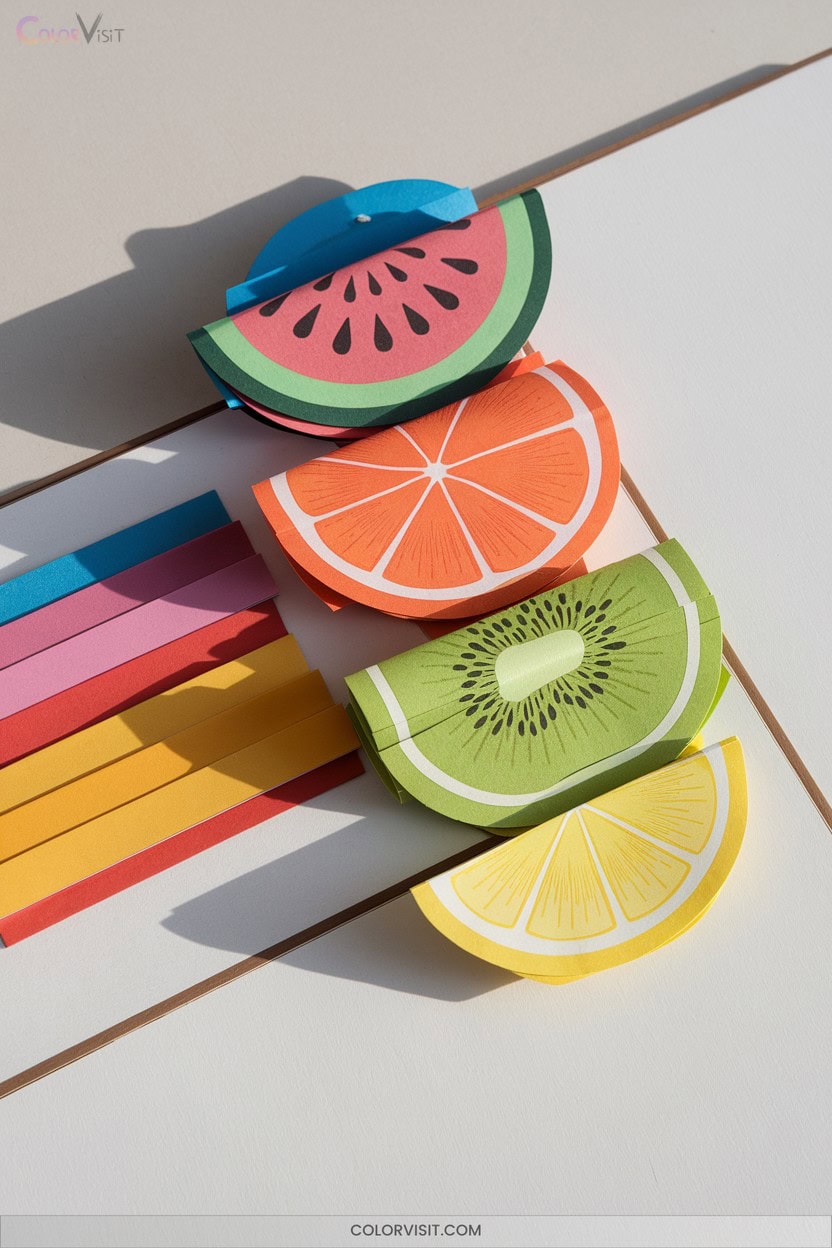
Slices of vibrant color come to life when you craft playful fruit bookmarks from simple sheets of paper.
Bring a burst of color to your reading routine with whimsical fruit bookmarks crafted from nothing more than paper and imagination.
Begin by folding a 10cm square into an origami corner pocket—your base.
Layer colored triangles: pink, white, and green for watermelon; yellow and orange for citrus. Use glue for crisp adhesion, pressing layers with a bone folder to achieve precision.
Add seeds or wedge lines with markers or cutouts. Experiment with gradients, whimsical faces, or mixed-fruit sets. Allow bookmarks to dry flat beneath books for a polished finish.
These innovative creations blend geometry, color theory, and tactile fun—perfect for bold, creative readers.
6. Rubber Band Holders From Folded Paper
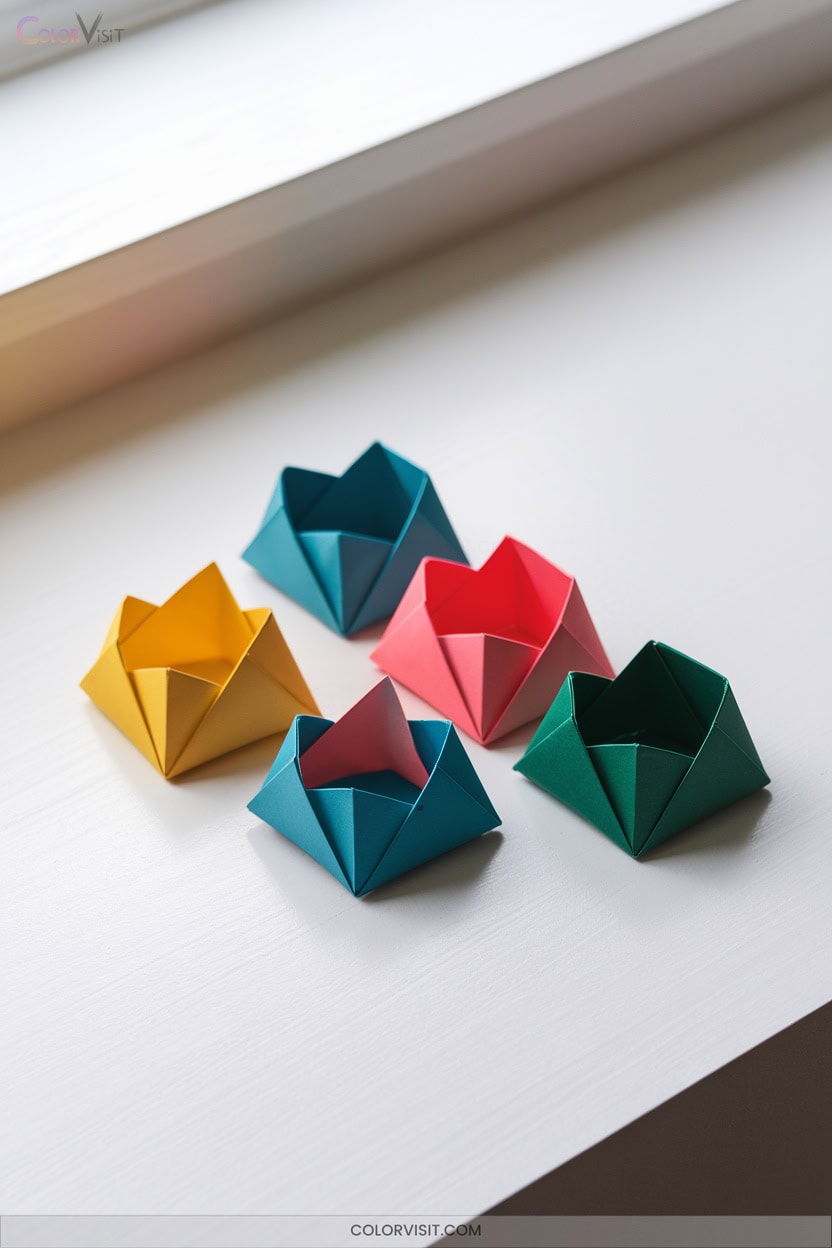
After crafting eye-catching bookmarks, you can channel that same creative energy into making practical rubber band holders from folded paper.
Select vibrant, sturdy paper and experiment with origami techniques like accordion folds or the Baggi pocket for expandable, resilient storage.
Reinforce your holder with layering or discreet touches of glue, and personalize with bold colors or geometric patterns.
Adapt your design for different band sizes, ensuring compartments are crisp and secure with tuck folds.
Enjoy crafting an eco-friendly, innovative solution that looks as good as it functions.
- Experiment with origami V-folds for structure
- Add layers for durability
- Personalize with patterns
- Use tuck folds for security
- Reinforce with eco-friendly glue
7. Multicolored Paper Chain Snakes

A lively multicolored paper chain snake instantly brightens any craft session and offers endless ways to showcase your imagination.
A colorful paper chain snake brings a burst of creativity to any craft table and sparks limitless imaginative possibilities.
Begin by cutting 30–40 strips of colored construction paper, each about 3 cm wide.
Loop your first strip into a circle, securing with glue or a stapler.
Thread the next strip through, alternating colors for dynamic patterns—think rainbow gradients or jungle camo.
After the last loop, craft a distinctive head and tail; draw eyes, fork a tongue, and add googly eyes or glitter.
Experiment with textured or metallic papers.
These snakes foster pattern recognition, fine motor skills, and vibrant collaborative creativity.
8. Beaded Paper Butterflies

Transform simple paper and beads into dazzling beaded paper butterflies that flutter with color and texture.
Start by cutting curvy butterfly wings from vibrant scrapbook paper. Score and accordion-fold for dynamic dimension.
Pinch the center, wrap it tightly with craft wire, then thread assorted beads of varying sizes and hues for an intricate body.
Let the wire ends curl into whimsical antennae.
Experiment with metallic papers and bold bead arrangements to mimic nature or invent your own species.
- Mix metallic or patterned papers for unique effects
- Use beads of increasing size for realistic bodies
- Leave wire ends as antennae
- Display with Command Strips
- Craft mobiles or party decor
9. Paper Pinwheels in Vibrant Hues

Why not breathe new life into your crafting table by making paper pinwheels in vibrant hues? Start with a 6″ x 6″ square of smooth, bold paper.
Use a ruler and pencil for precise diagonal lines from each corner to the center, leaving a gap. Cut along these lines, fold every other tip inward, and secure with glue.
Punch a hole in the center, add a bead, and attach your pinwheel to a skewer with a thumbtack.
Layer contrasting colors or geometric patterns for a dazzling spinning effect. Embellish with sequins or ribbons to make your innovative design truly pop.
10. Decorative Paper Lanterns

Whether you’re crafting for a celebration or simply adding a warm glow to your home, decorative paper lanterns invite creativity at every step.
Begin with rice paper or heavyweight cover stock for structure, shaping over a balloon mold or intricate cutting machine template.
Layer strips with a flour-water paste, then spray on metallic or ombre hues for a bold finish. Insert LED lights for safe, vibrant illumination. Embellish with vellum windows and tassels for character.
- Experiment with hammered metal spray paint for rustic texture
- Add neon or nature-inspired colors for modern flair
- Integrate plexiglass windows for durability
- Use hand assembly for custom shapes
- Hang with ribbons for festive displays
11. Rainbow Paper Chains for Parties
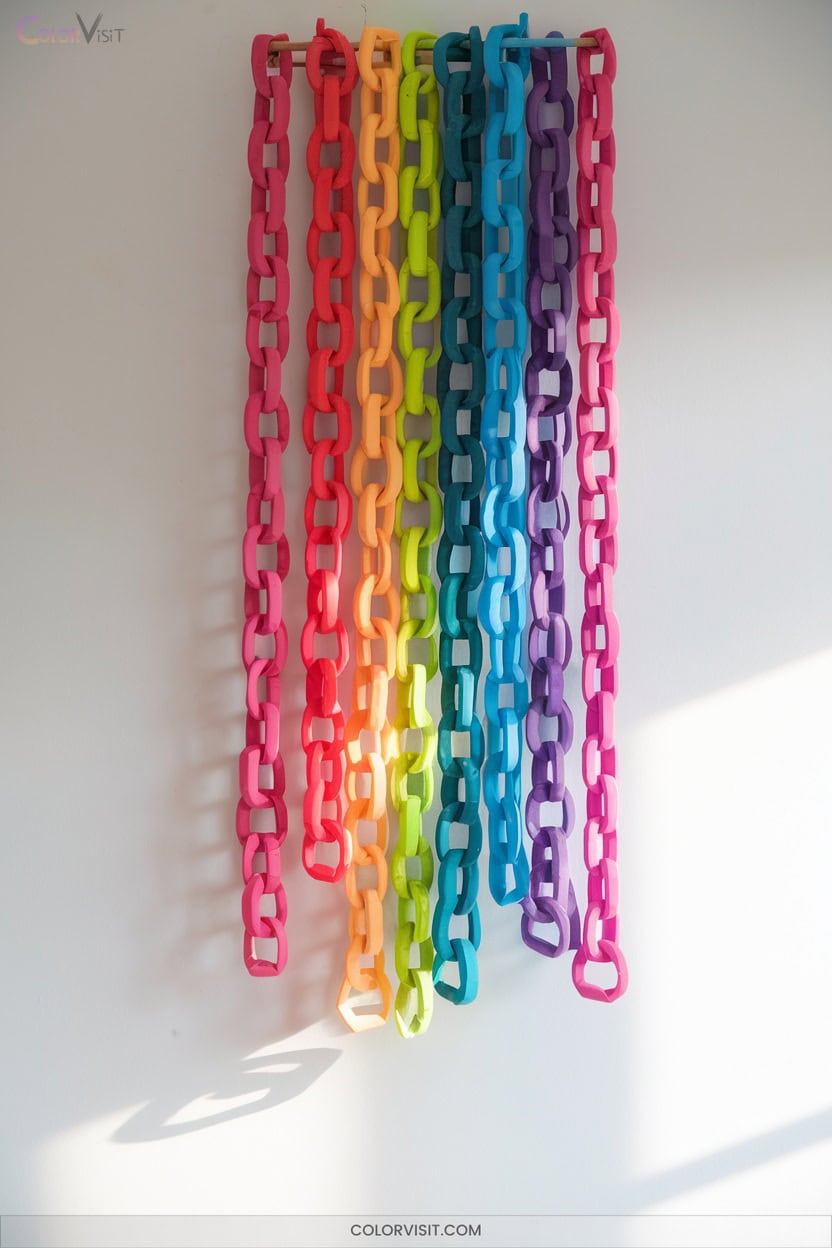
How can you instantly energize a party space? Design bold rainbow paper chains that dazzle and delight.
Design bold rainbow paper chains to instantly dazzle and delight, transforming any space with pops of vibrant, joyful color.
Start by batch-cutting construction paper strips in ROYGBV order—vary widths for dynamic texture. Link each strip into loops, securing with glue or staples for strength.
For a striking backdrop, anchor chains to layered cloud cutouts using the slot-and-loop method or Z-fold connectors.
Embellish with glitter, washi tape edges, or themed stickers—think pots of gold or seasonal icons. Pre-assemble ten-link segments for fast installation.
Suspend your chains floor-to-ceiling for room dividers, photo booth props, or vibrant educational displays—all instantly transformative.
12. Mixed Media Paper Collages
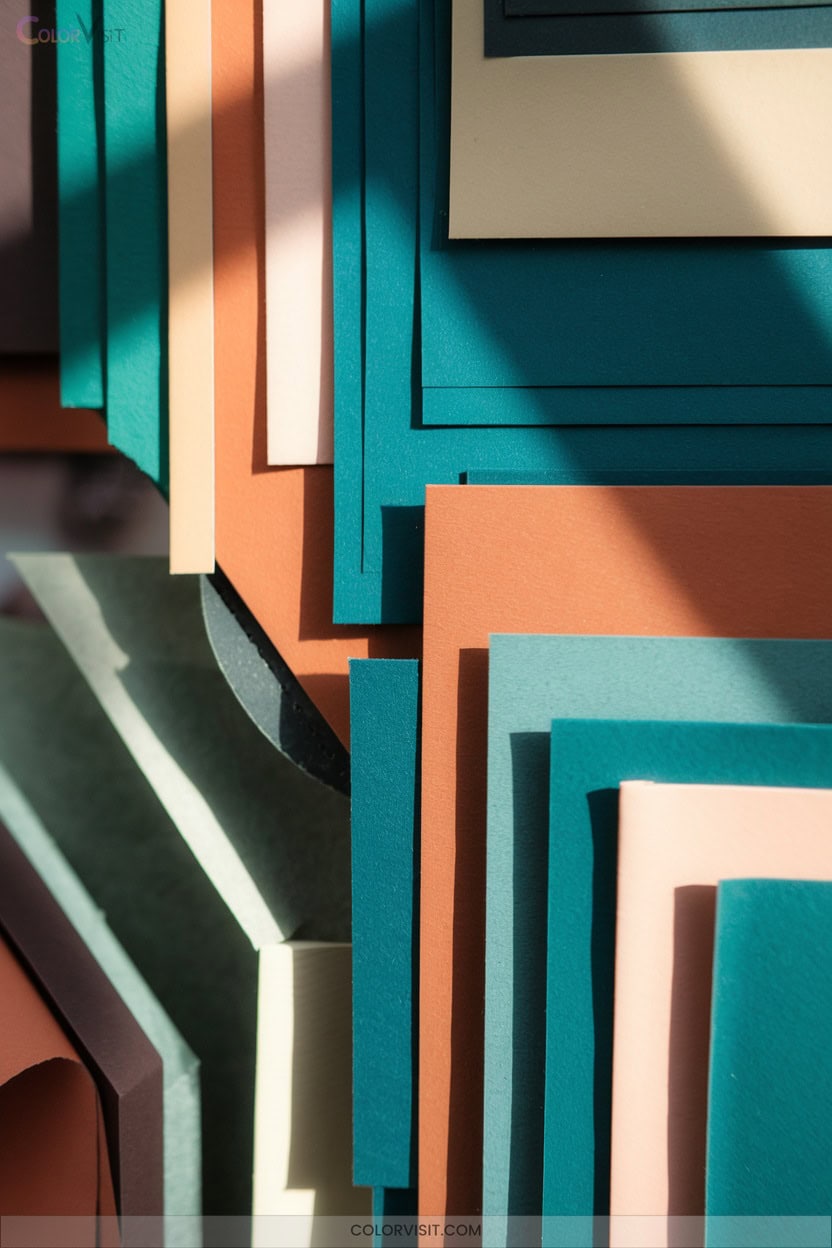
A blank canvas becomes a playground when you dive into mixed media paper collages.
Start by layering textured, printed, and watercolor papers, each chosen for their unique surface and color.
Use gel or matte mediums to secure them—tearing edges toward or away from you for dynamic outlines.
Add shimmer with metallic paints, build depth using gesso, or introduce fabric and acetate for contrast.
Let elements extend beyond borders for organic movement.
- Experiment with layering matte and shiny papers
- Cut bold shapes for instant focal points
- Incorporate transparent acetate for subtle layering
- Emboss paper for tactile dimension
- Play with light to cast intriguing shadows
13. Hot Air Balloon Paper Mobiles
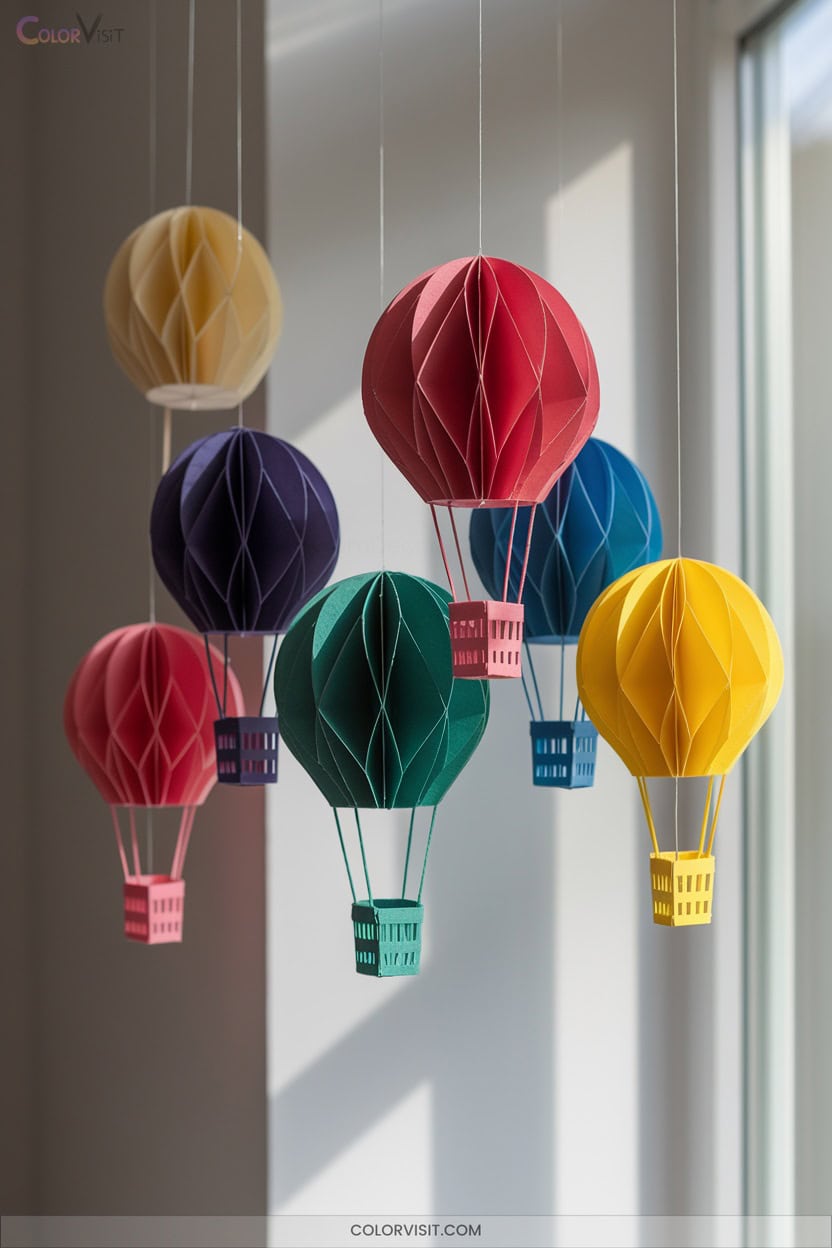
Ever wondered how to bring a sense of wonder and movement into your space with just paper and imagination?
Start by cutting circular and oval shapes from glossy, watercolor, or construction paper in bold hues—think red, blue, and yellow.
Layer or fold pieces for 3D dimension, and weave patterned strips to craft textured balloon baskets.
Vary balloon sizes and use invisible thread to suspend them from a hoop at staggered heights for a floating effect.
Add lighting or glow accents for magical evenings.
These mobiles enliven nurseries, parties, or learning spaces, making your innovative vision soar sky-high with color.
14. Decorative Paper Wreaths
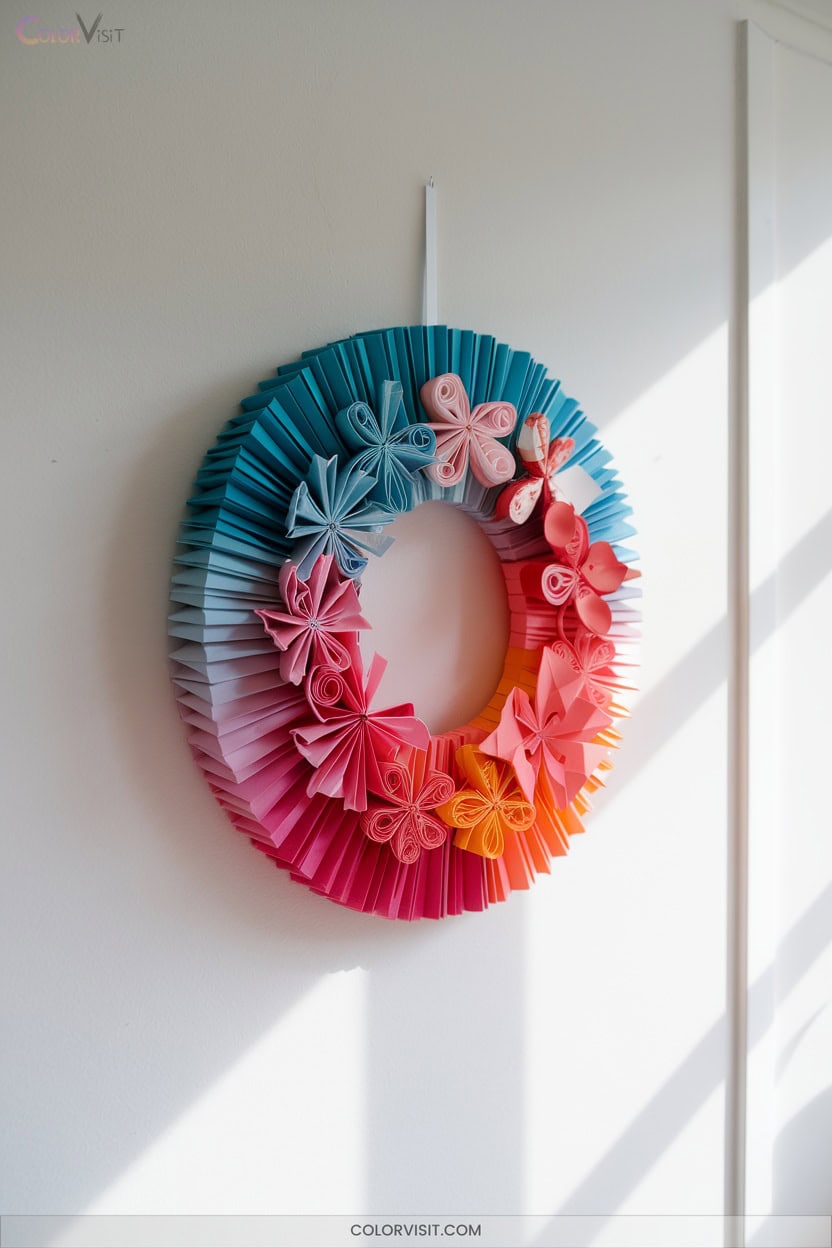
While simple materials like wrapping paper and cardboard can transform your crafting table, you’ll find that decorative paper wreaths offer endless creative possibilities.
Begin by cutting vibrant paper into leaves, cones, or geometric shapes using scissors or edge punches.
Arrange and staple each piece onto a cardboard base, layering and overlapping for dimension. Try monochromatic themes or mix bold hues for energy.
Personalize by adding initials or experimenting with vintage textures.
- Leaf-patterned wreaths for a nature-inspired look
- Rolled paper cones to create depth
- Modern geometric shapes for fresh flair
- Monochrome color schemes
- Personalized monogram accents
15. Animal-Themed Toilet Roll Creatures
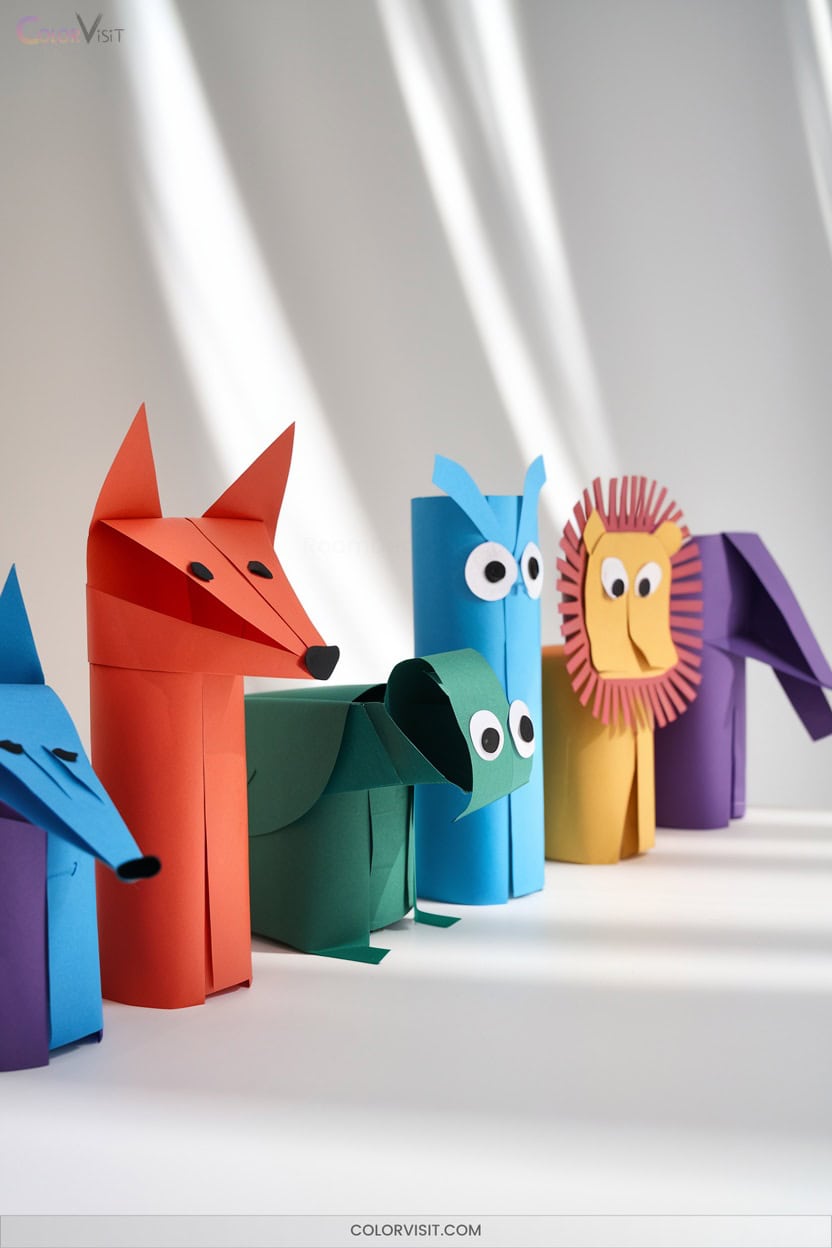
Cardboard tubes transform into a creative playground when you turn them into animal-themed creatures.
Cardboard tubes become a canvas for imagination when transformed into whimsical animal creatures, making playtime both creative and eco-friendly.
Gather toilet or paper towel rolls, colored paints, and construction paper.
Paint your tube, wrap it for a uniform look, then snip, collapse, or fold to form ears, snouts, or tails.
Add pipe cleaners for legs or whiskers, cotton balls for wool, and googly eyes for playful expressions. Craft a menagerie—cows, pigs, lambs, or cats—by layering colors and textures. Use scissors and glue to assemble features and customize details.
Let these eco-friendly animals inspire storytelling, spark imagination, and foster skill-building while celebrating innovative, sustainable crafting.
16. Paper Ice Cream Banner Decorations
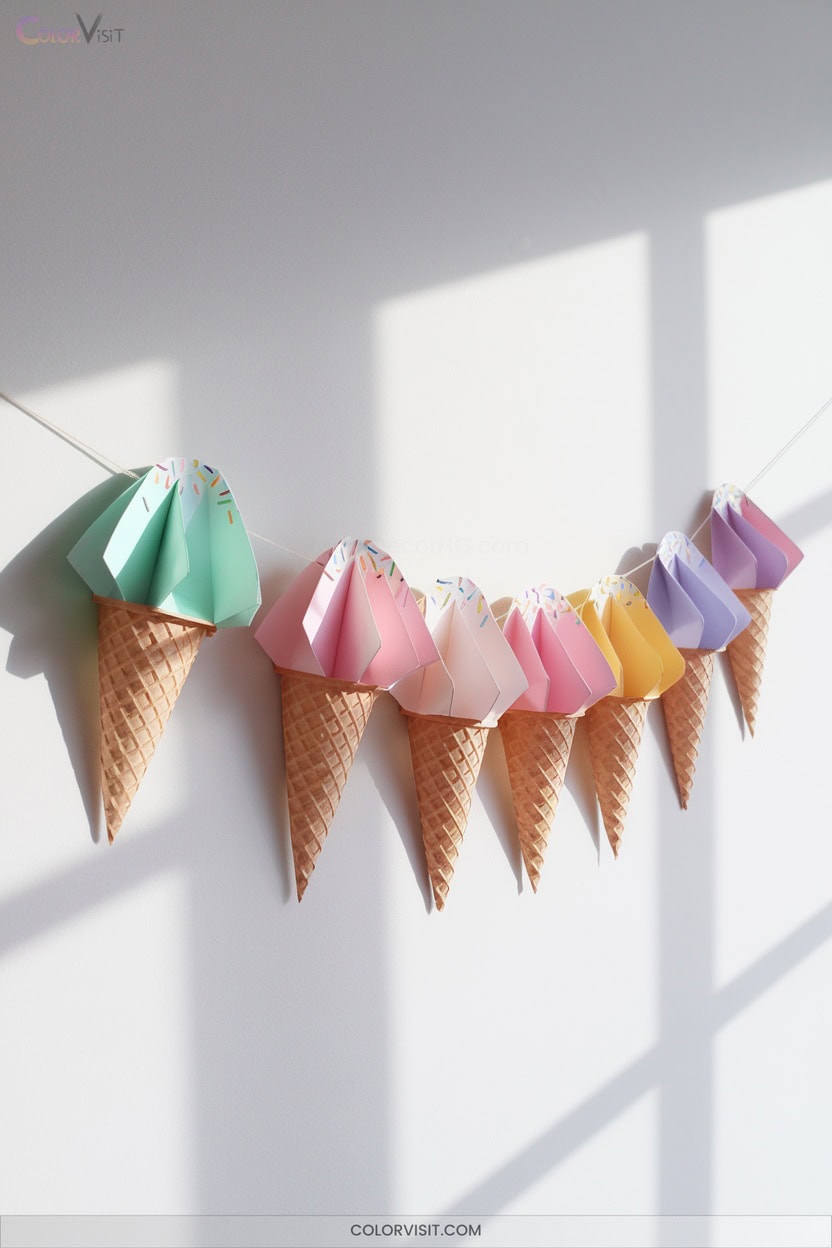
After crafting playful animal-themed creatures, bring a sweet touch to your décor with paper ice cream banner decorations. Start by downloading Crayola’s ice cream templates or sketch your own.
Use pastel and vibrant papers, then cut cones and scoops with Fiskars trimmers or a Cricut for precision. Assemble using double-sided tape, hot glue, and textured papers for cones.
Personalize with names or messages, and add paper sprinkle details. Hang your garland from tables or windows for instant festive flair.
- Download or create ice cream templates
- Mix pastel and vibrant papers
- Use textured paper for realistic cones
- Add personalized messages
- Attach colorful paper sprinkles
17. Geometric Folded Paper Picture Frames
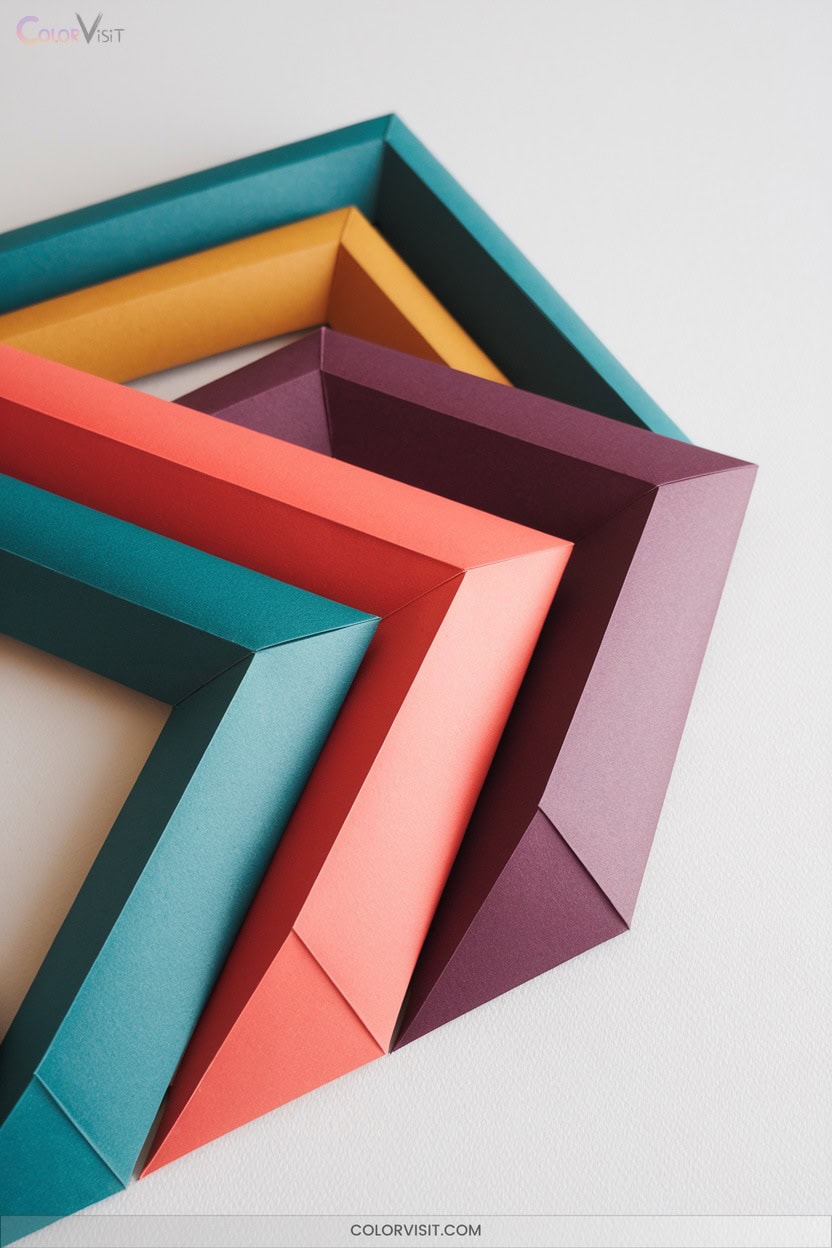
A geometric folded paper picture frame transforms a simple sheet of paper into a striking showcase for your favorite memories.
Start with a square or rectangular piece of colored paper—patterned or plain. Use a bonefolder for crisp, precise folds, following pre-marked lines for perfect edges.
Experiment with modular cubes, triangle folds, or heart corners for bold effects. Glue key joints for stability, then personalize with markers, stickers, or textured accents.
Display your mini masterpiece as a photo frame, gift tag, or scrapbook detail. Combine paper textures and colors, layering shapes for dimension.
Let your creativity turn every frame into modern art.
18. Festive Cake Topper Paper Chains
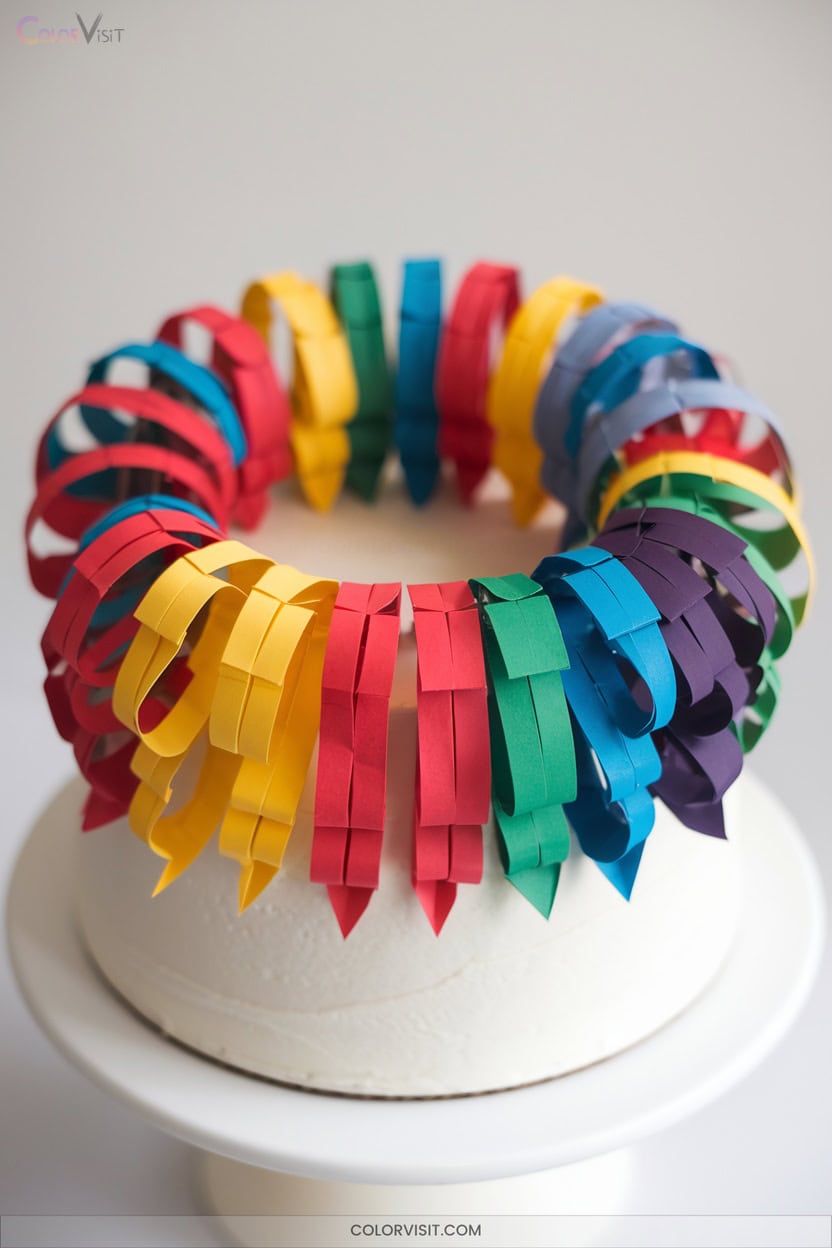
Vibrant paper chains instantly elevate any cake into a centerpiece of celebration.
To craft this innovative topper, cut vivid paper strips—think Astrobrights—into precise pieces, then loop and glue each one for a dynamic chain.
Interlock strips for a playful, multi-colored effect and assemble two chains of different lengths. Secure them onto trimmed bamboo skewers, layering for a striking, tiered finish.
Here’s how to innovate your design:
- Alternate colors for bold patterns
- Use tweezers for clean glue application
- Add paper rectangles as geometric accents
- Repurpose chains for scrapbooking
- Follow trending inspiration from Pinterest and Etsy
19. Layered Napkin Holders From Colored Paper
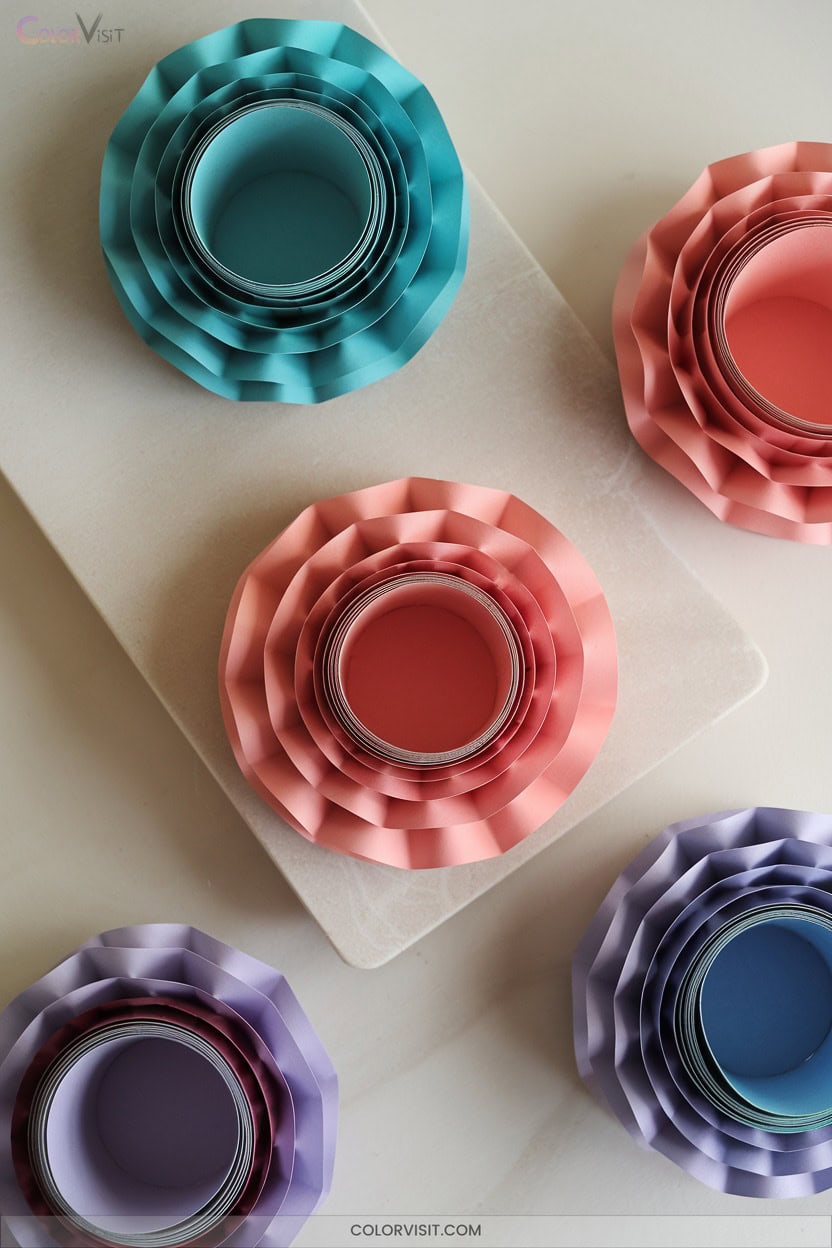
Once your celebration cake shines with playful paper chains, it’s time to bring that same creative energy to your table settings with layered napkin holders crafted from colored paper.
Begin with sturdy cardstock, cut to size, then brush on a pale base coat so napkin prints pop.
Apply adhesive, gently layer decorative napkin cutouts, and cure them with parchment and a heat tool for a seamless finish.
Stack contrasting colored paper shapes for depth. Highlight edges with paint or wax for definition. Experiment with mandala motifs, seasonal icons, or floral layers. Each holder becomes a tactile, custom accent for your event.
20. Sculptural Paper Mache Art With Colorful Bases
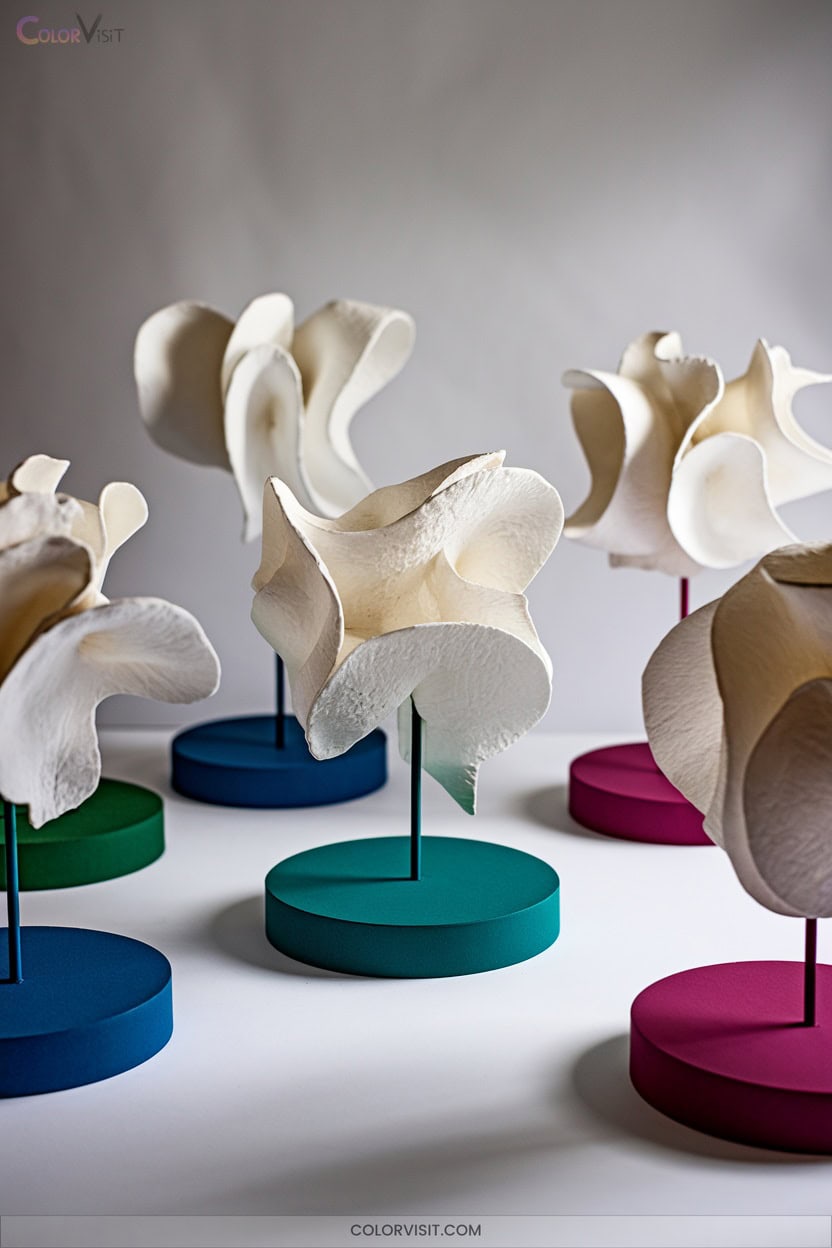
Immerse yourself in the world of sculptural paper mache by building bold, colorful bases that transform simple materials into eye-catching art.
Dive into sculptural paper mache and watch ordinary materials become vibrant, show-stopping art with bold forms and striking color.
Start with a sturdy armature—wire, cardboard, or repurposed objects—shaped to your vision. Tear newspaper into strips, soak them in a 50/50 glue-water mix, and layer thoughtfully.
Allow each layer to dry fully for strength.
Once dry, paint vibrant acrylics or add paper mache clay for smooth, creative textures. Finish with embellishments and acrylic varnish for durability.
- Shape dynamic animal forms or abstract art
- Experiment with striking color palettes
- Add tactile patterns or spikes
- Incorporate mixed media details
- Display your sculpture proudly
Frequently Asked Questions
What Types of Glue Work Best for Intricate Color Paper Crafts?
You’ll want precision craft glues like Bearly Art or Art Glitter Glue, applying them with fine tips for flawless detail. Embrace neutral pH for longevity, test clarity on scraps, and use minimal amounts to keep colors vibrant.
How Do You Prevent Colored Paper From Fading Over Time?
You want your vibrant colors to last, so don’t let sunlight steal their brilliance. Spray on UV protection, layer with acrylic paint, display away from windows, and use UV-filtering glass—your creations will defy time, radiating innovation.
Are There Eco-Friendly Colored Paper Options for Crafting?
Absolutely, you can choose colored kraft paper, recycled cardstock, or newspaper dyed naturally. Embrace vibrant hues and earthy tones, layer textures, and experiment with matte finishes—knowing you’re innovating sustainably, creating art that’s both beautiful and planet-friendly.
Can You Seal Paper Crafts to Make Them Water-Resistant?
You can give your paper crafts a magical raincoat—try misting on clear sealant sprays, brushing on wax, or exploring waterproof papers. Embrace experimentation, layer with care, and let your creations weather life’s unexpected storms with vibrant resilience.
Which Cutting Tools Give the Cleanest Edges on Colored Paper?
For the cleanest edges, grab a rotary cutter for smooth, effortless glides or a sharp craft knife for precise detail. Pair your tool with a sturdy cutting mat—watch your colored paper transform with flawless, innovative cuts.
Conclusion
Now that you’ve explored these 20 vibrant paper design ideas, it’s your turn to transform simple sheets into stunning art.
Did you know 63% of crafters say using colorful paper sparks their creativity? Gather your supplies, pick your favorite design, and let your imagination run wild.
Whether you’re folding, layering, or sculpting, don’t be afraid to mix bold colors and shapes. Your next masterpiece is just a snip and fold away—happy crafting!