How to Color Correct a Red Pimple? 7 Steps!
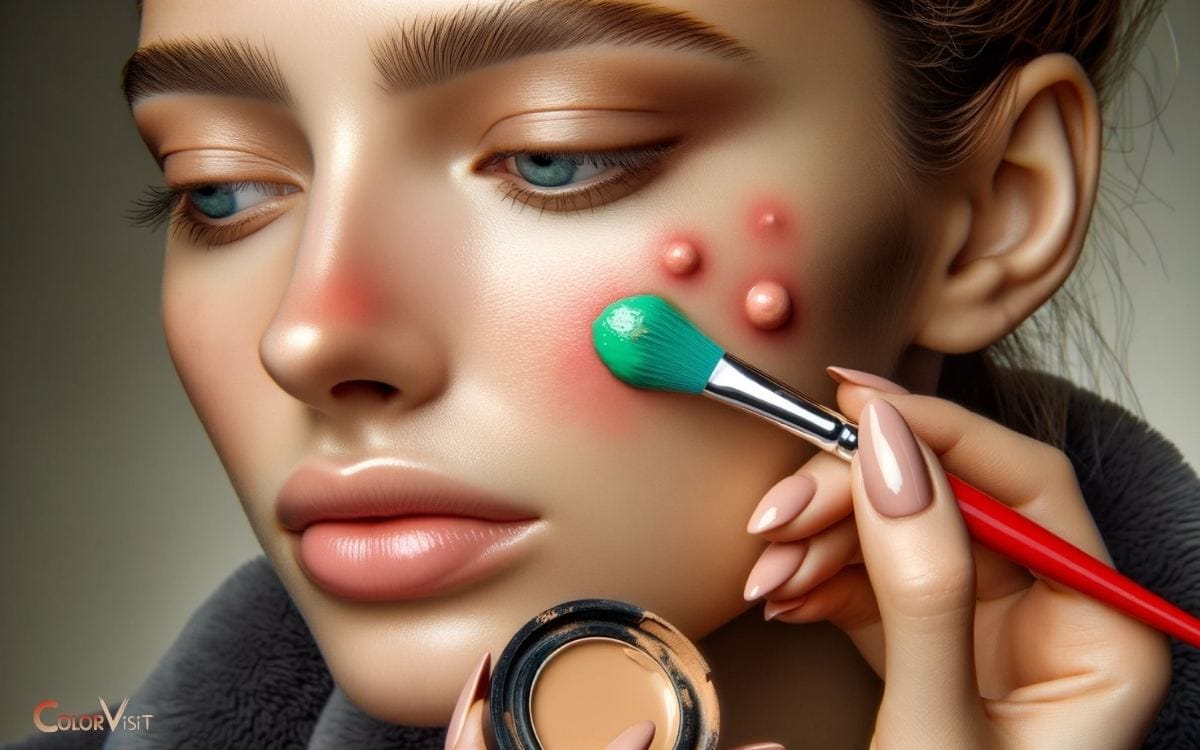
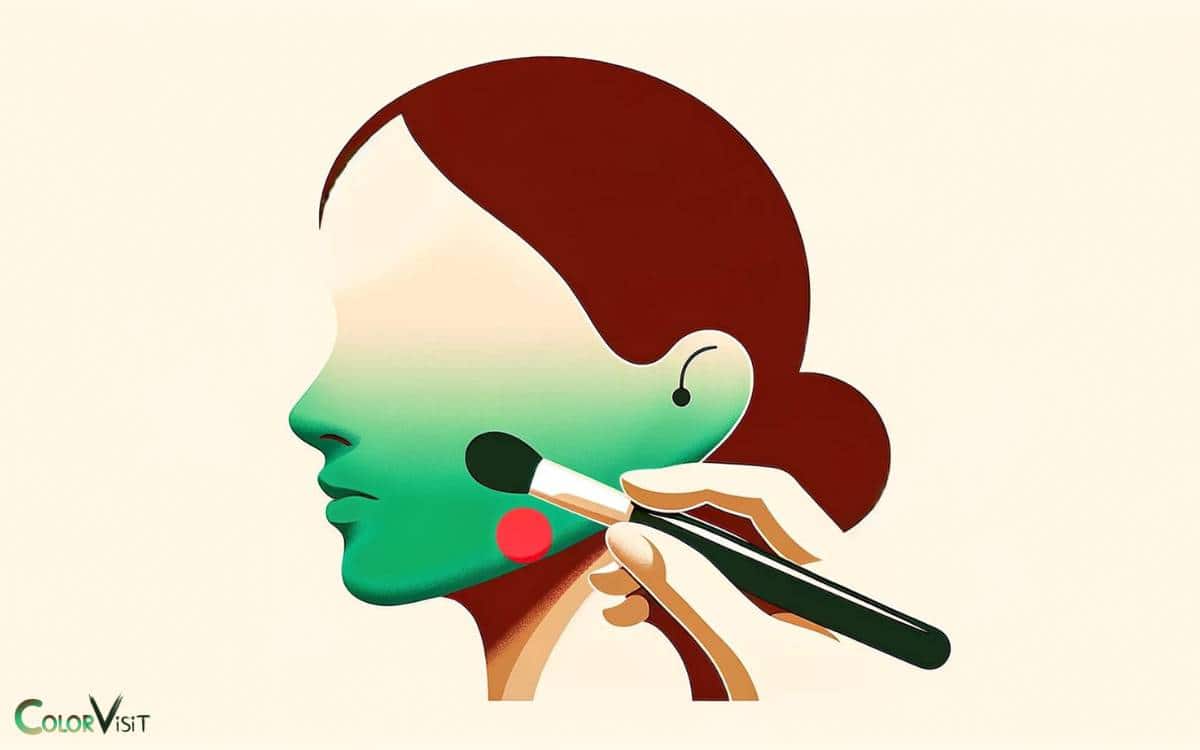
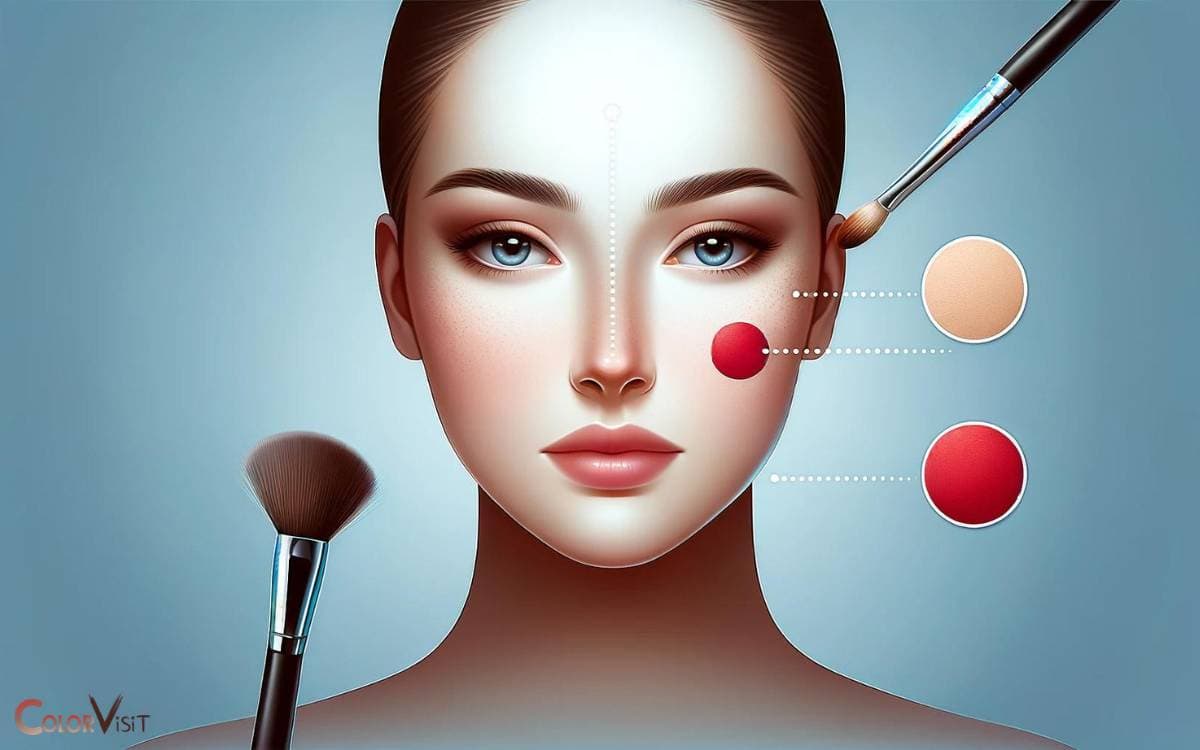
The best way to color correct a red pimple is by using a green color corrector to neutralize the redness. After applying the green color corrector, blend it gently into the skin using a makeup sponge or your fingertip for a seamless finish. Next, use a foundation or concealer that matches your skin tone to cover the corrector and achieve an even complexion. This technique is an effective way to learn how to correct red spots, ensuring your skin appears clearer and more balanced.
After applying a primer, dab the green color corrector on the pimple, blend it well, and then cover it with your regular concealer and foundation for a flawless look.
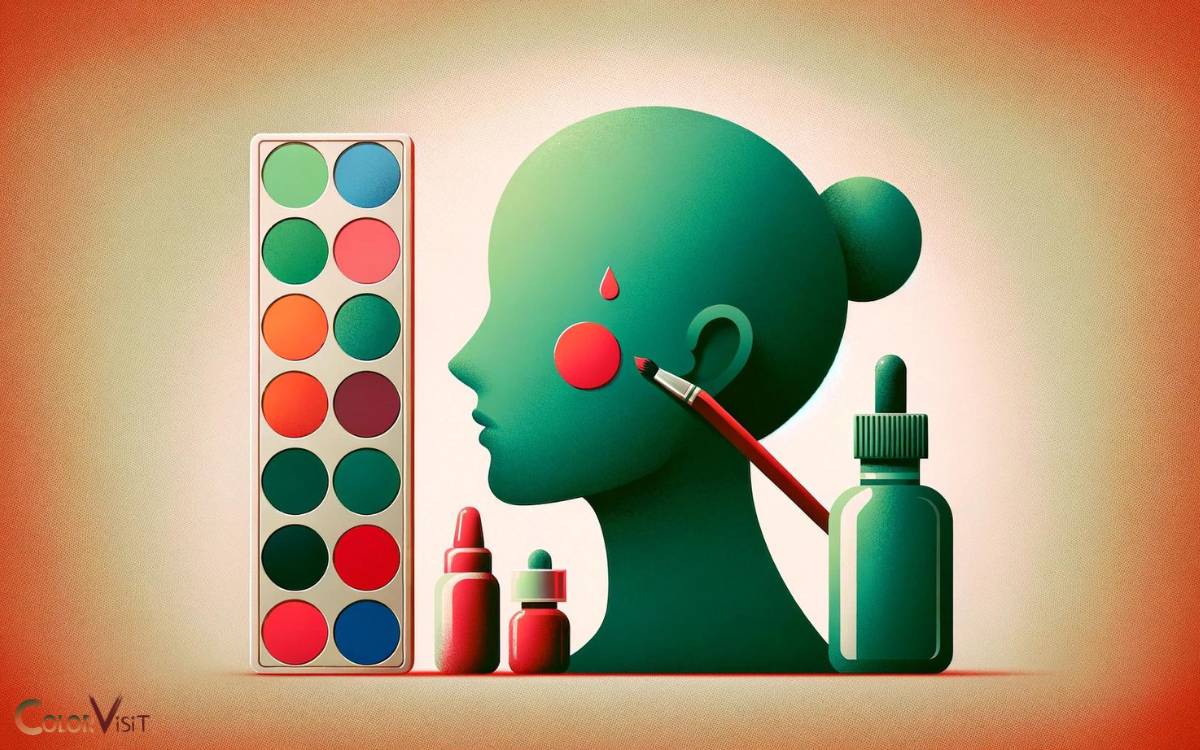
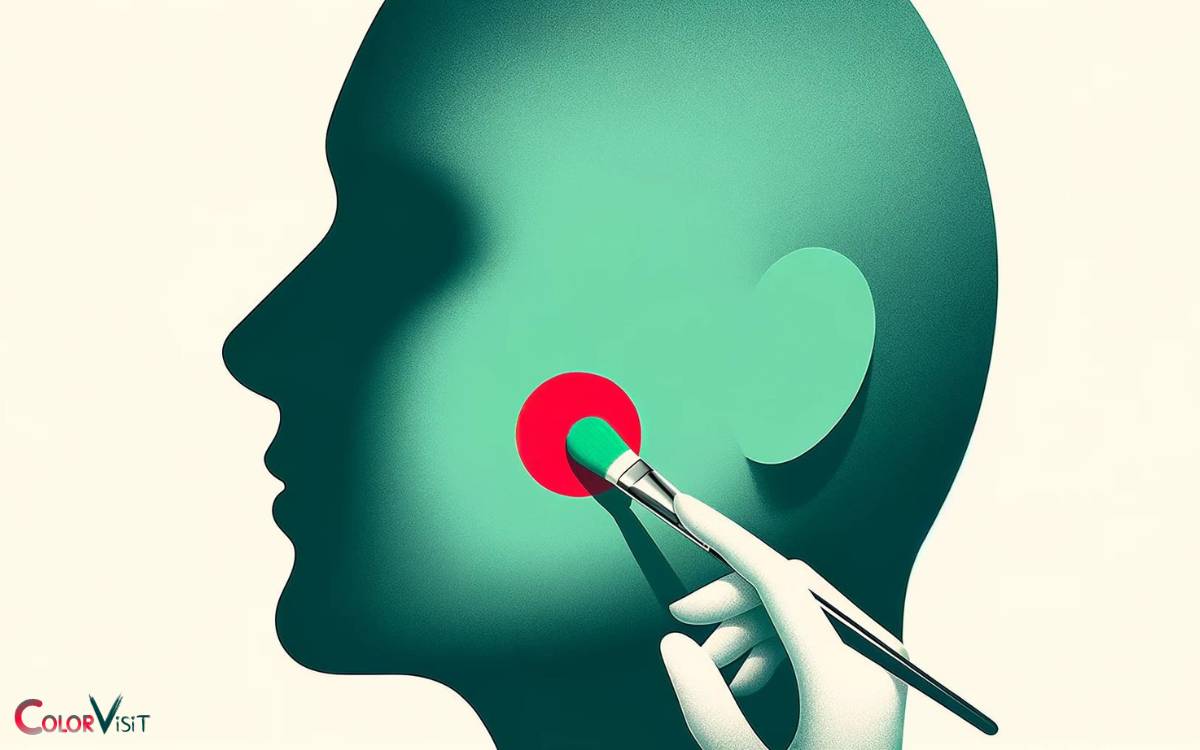
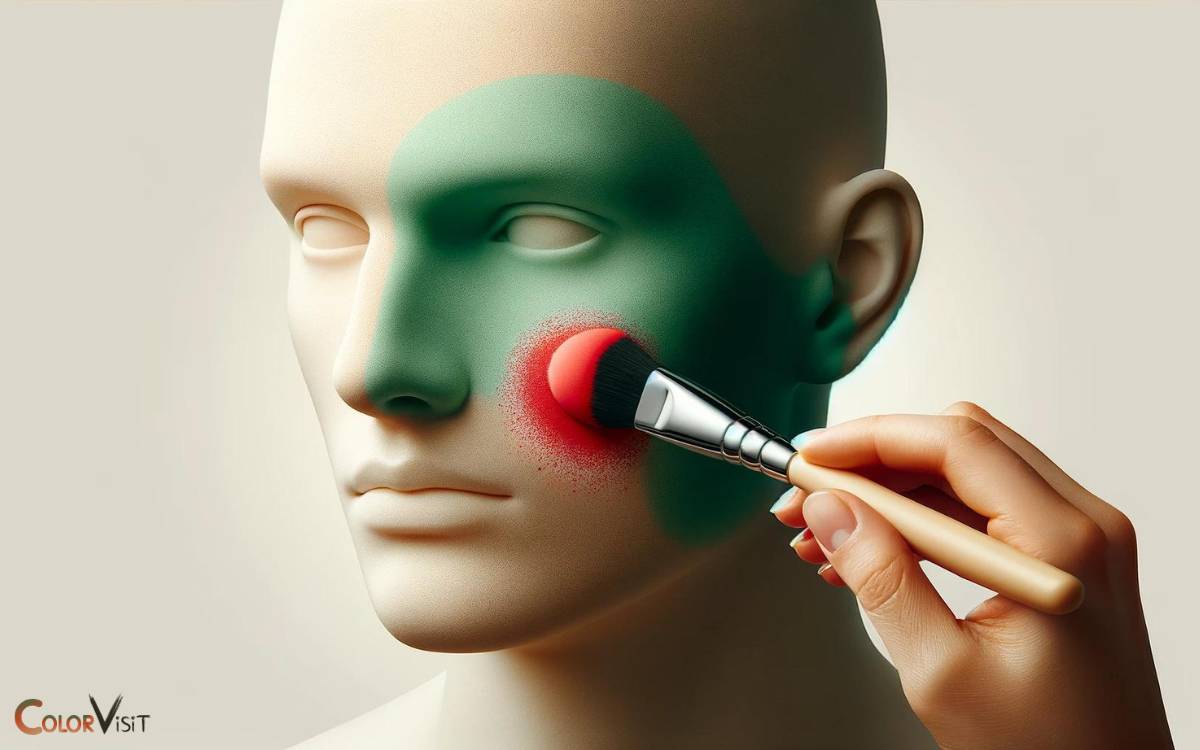
Green is opposite to red on the color wheel, which makes it the perfect color to neutralize redness.
When you apply a green color corrector on a red pimple, it reduces its visibility, and when you layer it with your skin-toned concealer and foundation, the pimple gets concealed effectively.
For example,
Color correction is a powerful makeup technique that allows you to achieve a flawless complexion, even when dealing with skin issues like red pimples. With the right color corrector, you can easily neutralize and conceal any redness.
Key Takeaway
Step 1: Understanding Color Theory
Understanding color theory is essential for effectively concealing redness on the skin caused by pimples. Primary colors, namely red, blue, and yellow, are the building blocks of all other colors.
- Complementary colors, such as green and yellow, can neutralize redness. By using the color wheel, one can identify complementary colors opposite to red, like green, which can help counteract the redness.
- Color mixing techniques, such as blending small amounts of green concealer with regular skin-toned concealer, can effectively camouflage the redness.
- Understanding how colors interact and how to apply color theory practically is crucial for achieving flawless skin even with pimples.
This knowledge enables individuals to innovate and create effective solutions for concealing skin imperfections, ultimately boosting confidence and promoting self-expression.
Step 2: Choosing the Right Color Corrector
When it comes to color correcting a red pimple, it’s crucial to understand the basics of color theory and how it applies to different skin tones.
Choosing the right color corrector involves matching the specific color of the pimple with the complementary color on the color wheel.
Color Theory Basics
When selecting a color corrector for a red pimple, it is essential to understand the basics of color theory to choose the most appropriate shade.
Understanding color temperature and the color wheel basics is crucial in this process. Color theory teaches us that colors opposite each other on the color wheel cancel each other out.
For redness, which is a warm color, a green color corrector can be used as it is the opposite on the color wheel.
Refer to the table below for a quick guide on color correctors:
| Issue | Corrector |
|---|---|
| Redness | Green |
| Dark Spots | Peach/Light Orange |
| Sallowness | Lavender |
By comprehending these basics, you can make an informed decision when choosing a color corrector for your red pimple, ensuring effective color correction.
Skin Tone Matching
Once you have understood the basics of color theory, it is essential to consider skin tone matching when choosing the right color corrector for a red pimple.
- Understanding your skin undertones is crucial in selecting the correct color corrector. For those with cool undertones, a green color corrector can effectively neutralize the redness, while those with warm undertones may benefit from a yellow-based corrector.
- It’s important to note that choosing the right shade is just as crucial as understanding undertones.
- Opting for a color corrector that closely matches your skin tone ensures seamless makeup application and natural-looking results.
When applying the color corrector, gently dab and blend it onto the affected area before proceeding with foundation and concealer for a flawless finish.
Step 3: Preparing Your Skin for Color Correction
To address redness caused by a pimple, begin by thoroughly cleansing the affected area and applying a gentle, hydrating moisturizer to create a smooth base for color correction.
- Proper skin preparation is crucial for effective color correction techniques.
- A consistent skincare routine can help maintain overall skin health, making it easier to apply makeup for targeted concerns such as redness from a pimple.
- By incorporating skincare practices that prioritize hydration and nourishment, the skin becomes more receptive to makeup application, ensuring a flawless and natural finish.
- This preparation step is essential for achieving optimal results when applying color corrector to the pimple, as it sets the stage for seamless integration of corrective makeup techniques.
Step 4: Applying Color Corrector to the Pimple
Choosing the correct color corrector is crucial to effectively neutralize the redness, and blending it seamlessly into the surrounding skin is essential for a natural-looking finish.
These points will be discussed in detail to ensure that you achieve the best results when applying color corrector to the pimple.
Choosing Correct Color Corrector
Selecting the appropriate color corrector is essential for effectively concealing a red pimple and achieving a natural-looking complexion.
When choosing a color corrector for a red pimple, consider the following factors:
- Undertone Match: Look for a color corrector that matches the undertone of your skin to ensure seamless blending.
- Coverage: Opt for a highly pigmented color corrector that provides full coverage to effectively neutralize the redness of the pimple.
- Formula: Choose a lightweight and non-comedogenic formula to prevent clogging pores and causing further breakouts.
- Ingredients: Consider color correctors with soothing ingredients such as green tea extract or chamomile to calm the inflamed pimple.
- Longevity: Select a long-lasting color corrector to ensure all-day coverage without the need for frequent touch-ups.
Blending for Seamless Finish
When applying color corrector to a red pimple, blend the product gently using a tapping motion to achieve a seamless finish.
- Blending techniques play a crucial role in achieving a flawless finish when applying color corrector to specific areas.
- To seamlessly apply the color corrector, it is essential to use precise blending techniques that ensure the product integrates seamlessly with the skin.
- By employing meticulous blending methods, the color corrector can effectively neutralize the redness of the pimple without leaving any visible demarcation lines.
- This seamless application is key to achieving a natural-looking complexion.
Understanding and mastering color correction techniques, including blending for a flawless finish, is crucial for those seeking innovative and effective solutions in their skincare and makeup routines.
Step 5: Blending the Color Corrector
A small amount of color corrector should be applied directly to the red pimple using a gentle dabbing motion with a makeup sponge.
Once the color corrector application is in place, blending techniques become crucial for achieving a flawless finish.
Here are some innovative blending tips to seamlessly blend the color corrector:
- Circular Motion: Blend the color corrector in a circular motion to ensure even coverage.
- Light Pressure: Apply light pressure while blending to avoid disturbing the surrounding makeup.
- Feathering Technique: Use a feathering technique to blend the edges of the color corrector seamlessly into the skin.
- Patting Motion: Utilize a patting motion to further blend and set the color corrector without smudging it.
- Layering Method: Consider layering the color corrector in thin, even layers to build coverage gradually and blend effectively.
Step 6: Setting the Color Corrector With Concealer
To ensure long-lasting coverage and a seamless finish, the color corrector should be set with a concealer that matches the skin tone.
This final step not only helps to lock in the color corrector but also provides an additional layer of coverage for the pimple.
When setting the color corrector with concealer, it’s essential to consider the blending technique and coverage options for a flawless result.
Here’s a table outlining different blending techniques and coverage options:
| Blending Technique | Description |
|---|---|
| Stippling | Using a stippling brush or sponge to dab the concealer onto the color-corrected area for a natural finish. |
| Pressing | Gently pressing the concealer onto the skin with fingers for targeted coverage. |
| Rolling | Rolling a makeup sponge over the concealed area to blend the color corrector and concealer seamlessly. |
Step 7: Finishing Touches and Final Tips
After setting the color corrector with a matching concealer, the finishing touches and final tips for concealing a red pimple include blending techniques and additional coverage options.
To achieve a flawless finish, consider the following:
- Blending techniques: Use a makeup sponge or brush to seamlessly blend the concealer into the surrounding skin for a natural look.
- Setting powder: Gently apply a translucent setting powder to ensure the concealer stays in place and reduces shine.
- Color correction: If needed, revisit the color correction step to ensure the redness is fully neutralized.
- Layering: For stubborn pimples, layering thin coats of concealer can provide extra coverage without looking cakey.
- Setting spray: Finish with a light mist of setting spray to lock everything in place for extended wear.
Conclusion
Color correcting a red pimple requires an understanding of color theory and the right choice of color corrector.
Preparing the skin and applying the corrector in a precise manner is essential. Blending and setting the color corrector with concealer will give a flawless finish.
