How to Color Pine Cones Red? 5 Steps!
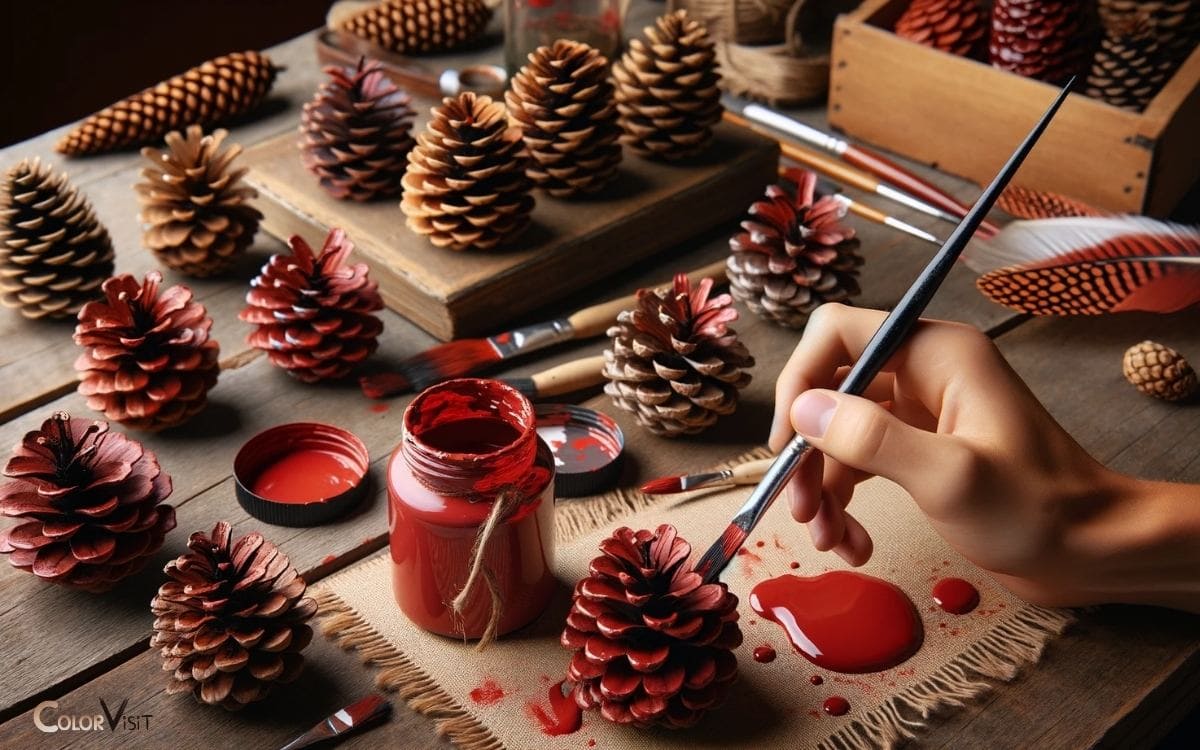
To color pine cones red, you need to follow a few simple steps involving the use of red spray paint or red acrylic paint.
This process is an effective way to create vibrant, red pine cones that can be used for various craft projects or home decor.
Here Quick Steps:
Creating red pine cones is a fun and easy craft project. It’s a great way to inject color and creativity into your home decor or holiday decorations. Plus, it’s a fantastic activity for both adults and children to enjoy.
Key Takeaway
Step: 1 Selecting the Right Pine Cones
When selecting pine cones for coloring, it is important to choose ones that are fully closed and free from damage.
- Different pine cone types, such as sugar pine, white pine, or ponderosa pine, may yield varying colors when dyed.
- The natural colors of pine cones can range from light brown to deep russet, and these inherent hues can significantly influence the final dyed result.
- Therefore, it is essential to consider the original color of the pine cones when selecting them for coloring, as this will impact the intensity and shade of the final color.
- Understanding the natural pine cone colors is crucial for achieving the desired results when dyeing them.
Once the appropriate pine cones are selected, the next step is to prepare the coloring solution for the dyeing process.
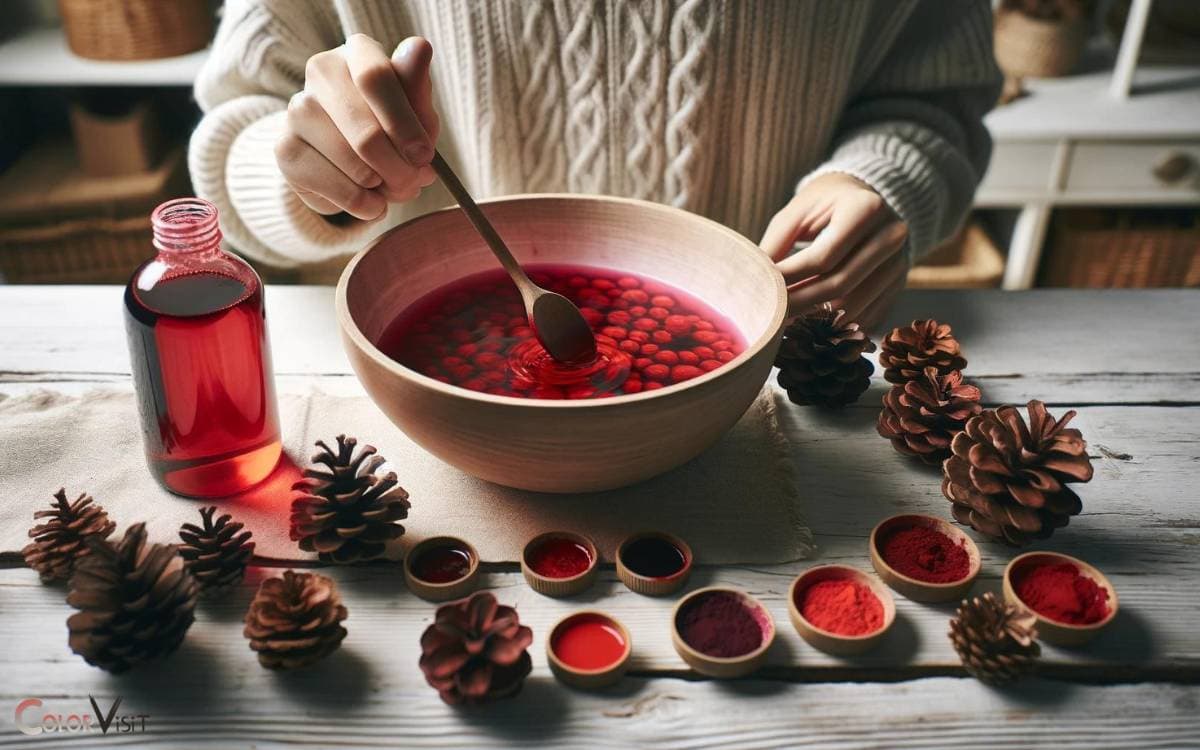
Step: 2 Preparing the Coloring Solution
After selecting the right pine cones, the next step involves preparing the coloring solution for the dyeing process.
When preparing the coloring solution, consider using natural alternatives such as beet juice, turmeric, or food coloring to achieve a vibrant red hue. Experimenting with different ratios of these ingredients can help you achieve a variety of shades. For those looking for more depth in their color, learning how to create dark red paint can enhance your project further. Additionally, mixing in a small amount of vinegar can intensify the vibrancy of your chosen natural dye.
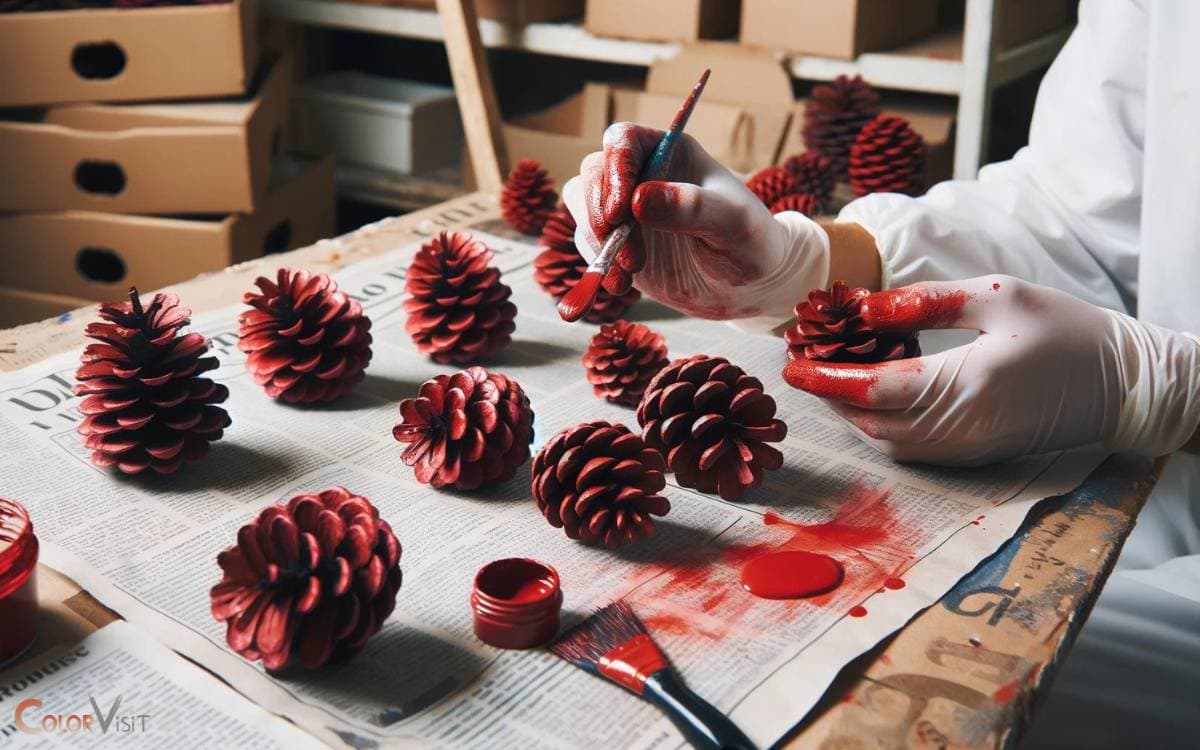
To ensure safety during the dyeing process, it’s important to take the following precautions:
- Use gloves to protect your hands from staining and irritation.
- Natural alternatives like beet juice and turmeric can stain surfaces, so use protective coverings on your work area.
- When using food coloring, ensure proper ventilation to avoid inhaling fumes.
These safety precautions will help create a safe and efficient coloring process, while the natural alternatives provide an innovative and eco-friendly approach to achieving the desired red color for pine cones.
Step: 3 Applying the Red Color
Applying the red color to the pine cones involves immersing them in the prepared coloring solution for an extended period to ensure optimal absorption.
- This step is crucial in achieving vibrant and long-lasting color saturation.
- To ensure even color distribution, gently agitate the pine cones in the solution, allowing the color to penetrate deeply into the scales.
- For a more innovative approach, consider using a spray gun or airbrush to apply the coloring solution, allowing for precise control over the color application.
- This technique can result in a unique and visually appealing gradient effect on the pine cones.
- Additionally, employing a layering method by allowing the pine cones to dry between each application can further enhance the richness of the red hue.
Experimenting with different application techniques can lead to stunning and creative results.
Step: 4 Drying and Setting the Color
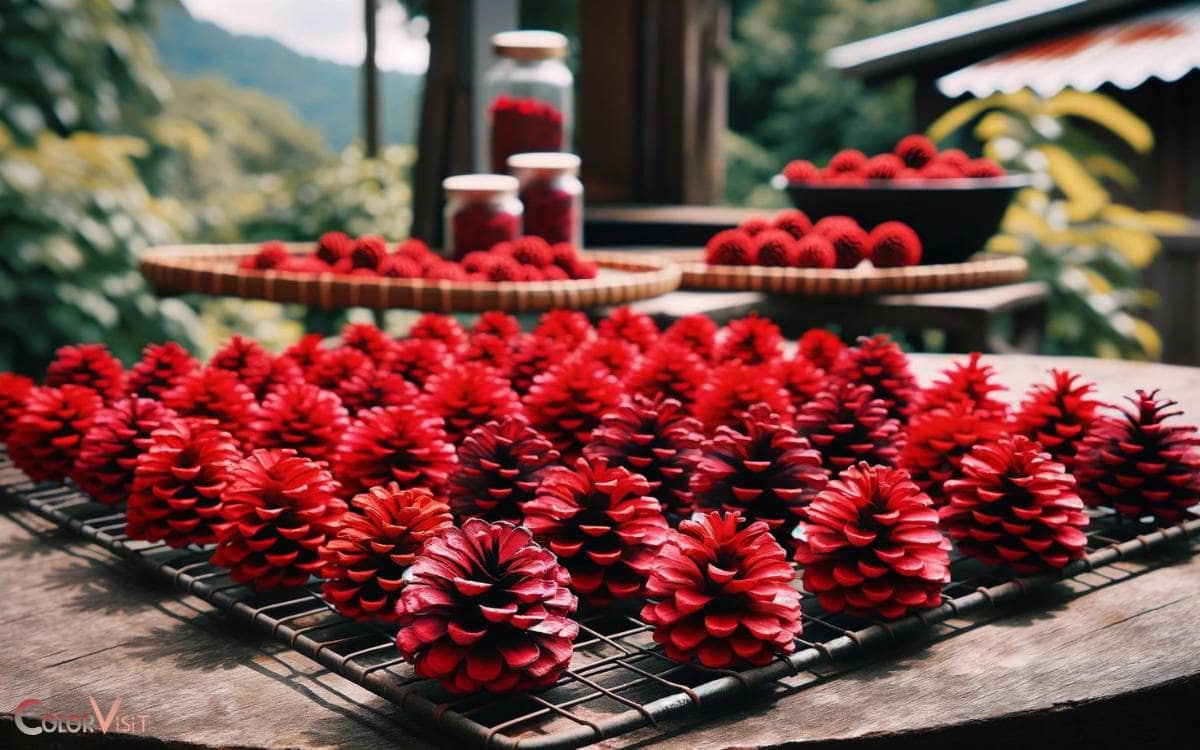
To ensure the longevity and vibrancy of the red color on the pine cones, it is essential to thoroughly dry and set the color.
This can be achieved through various drying techniques and color retention methods:
- Air Drying: After applying the red color, allow the pine cones to air dry in a well-ventilated area. This method helps the color to set and adhere to the pine cones effectively.
- Oven Drying: For a quicker drying process, place the pine cones in an oven set to a low temperature. Keep a close eye on them to prevent overheating and color damage.
- Sealant Application: Once the pine cones are dry, consider applying a sealant to enhance color retention and protect the surface from external factors.
Step: 5 Displaying Your Red Pine Cones
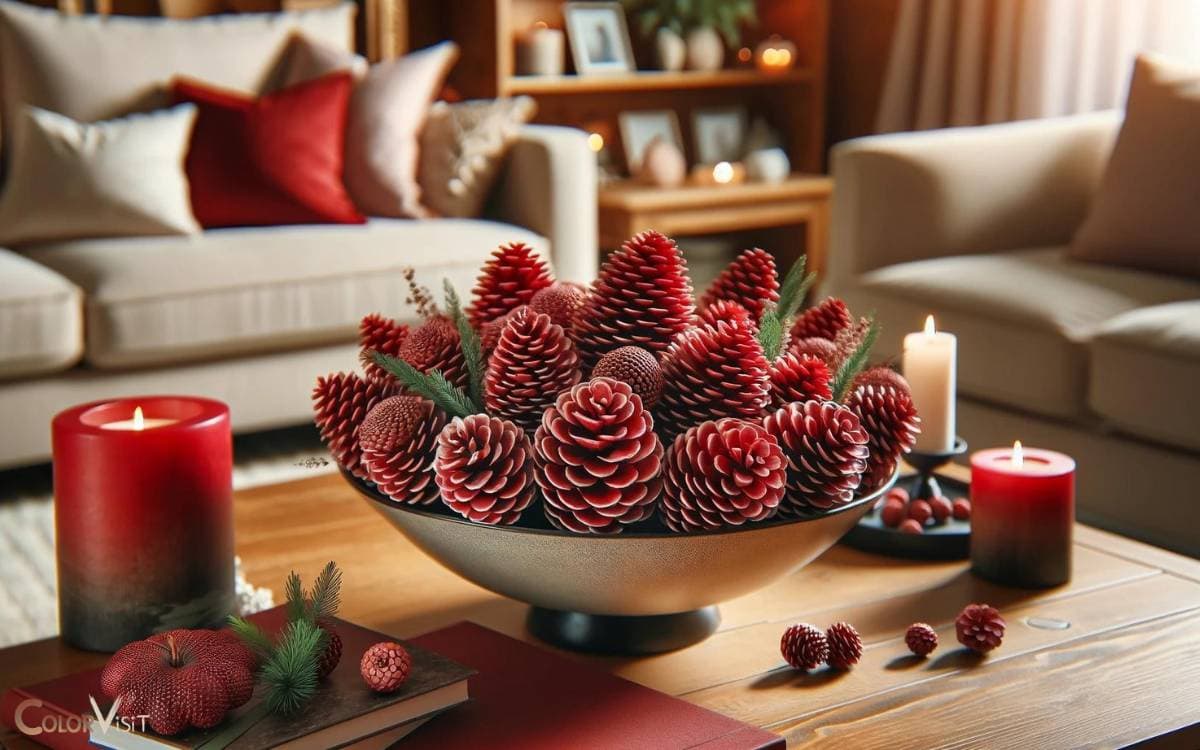
One effective way to showcase your red pine cones is by arranging them in a decorative bowl or basket. This creates a visually appealing centerpiece that adds a touch of nature to your home decor.
- Consider incorporating creative arrangements by mixing the red pine cones with other seasonal elements such as dried flowers, berries, or decorative foliage.
- Another innovative idea is to display the pine cones on a mantel or shelf, interspersed with fairy lights or nestled among greenery for a festive touch.
- For a more modern look, place them in glass hurricane vases or terrariums, allowing their vibrant color to stand out.
Whether adorning a holiday table or adding a pop of color to your living space, red pine cones are a versatile addition to seasonal decor.
Conclusion
Coloring pine cones red is a simple yet rewarding process. By carefully selecting the right pine cones and preparing a suitable coloring solution, you can transform them into vibrant red decorations.
Just like a painter adding color to a canvas, the application of the red color requires patience and precision.
Once dried and set, these red pine cones can be displayed as beautiful additions to your seasonal decor.
