How to Dye Red Eggs with Food Coloring? 6 Steps!
Creating vibrant red eggs with food coloring is a fun and creative process. This guide will provide you with step-by-step instructions, from selecting the right eggs to enhancing the color and designing unique patterns.
Dyeing eggs red with food coloring is a simple process that involves boiling eggs, preparing a dye bath with food coloring, and immersing the eggs until they reach the desired color.
For instance, you could add a few drops of red food coloring to a cup of boiling water with a teaspoon of vinegar. The vinegar helps the color adhere to the egg shell.
This DIY project is a creative way to celebrate any occasion. Not only is it easy, but it results in beautiful red eggs that symbolize good luck and prosperity.
Key Takeaway
Step 1: Selecting the Right Eggs
When selecting eggs for dyeing, choose fresh, uncracked white eggs to ensure the best results.
- The quality of the eggshell will directly impact the color absorption and the overall appearance of the dyed eggs.
- White eggs provide a neutral base for the dye, allowing the colors to appear more vibrant and true to the intended shade.
- Additionally, the smooth and unblemished surface of fresh eggs promotes better dye adherence, resulting in a more even and consistent color coverage.
- When considering natural dye options, it’s important to note that the quality of the egg will interact with the dye in unique ways.
Experimenting with various natural dyes and egg qualities can lead to innovative and visually stunning results, making the process of egg dyeing an exciting and creative endeavor.
Step 2: Preparing the Dye Solution
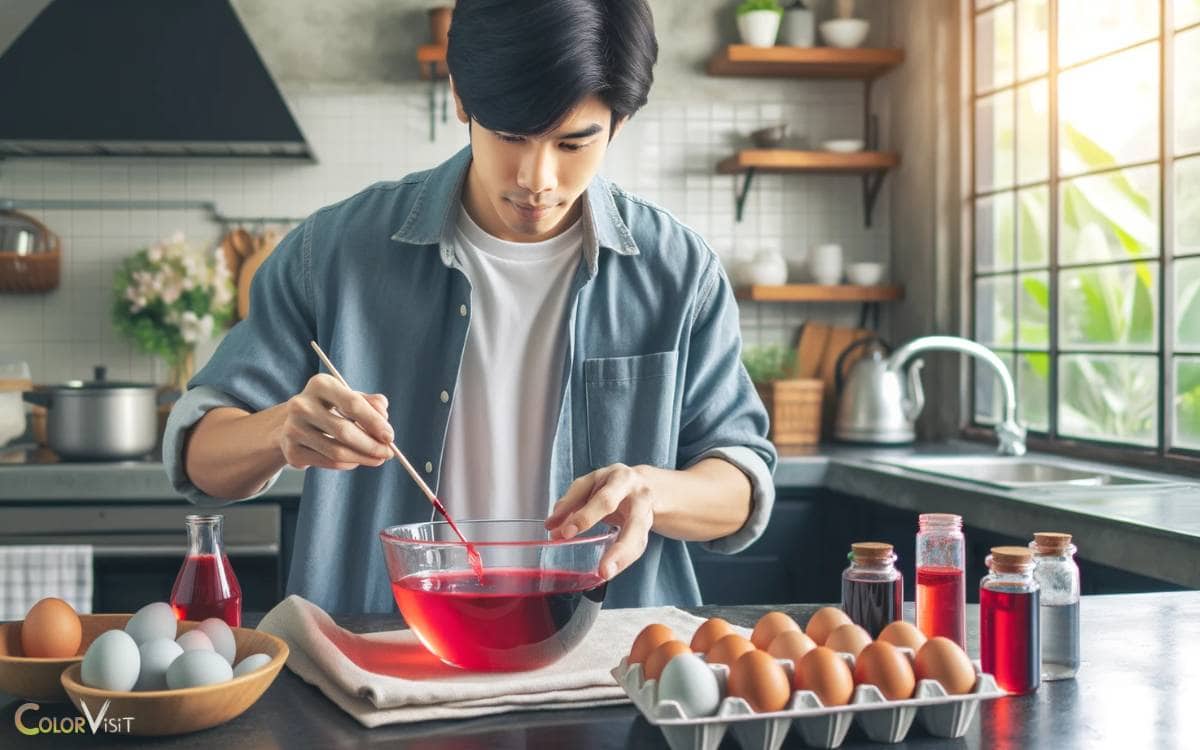
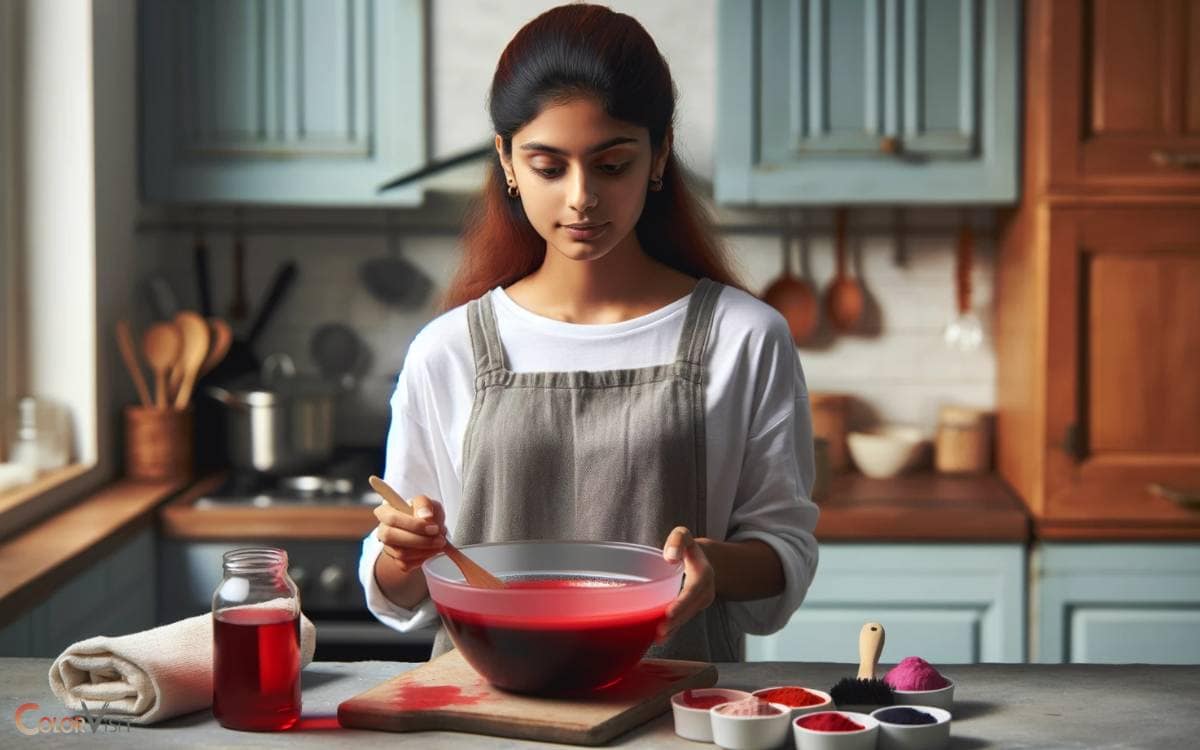
To prepare the dye solution for red eggs, start by boiling water and adding vinegar to create the base solution.
Then, carefully add the desired amount of red food coloring and stir until the color is evenly distributed.
This process ensures that the dye solution is well-prepared and ready for coloring the eggs to achieve the desired vibrant red hue.
Boil Water and Vinegar
The first step in preparing the dye solution for red eggs is to carefully boil water and vinegar together.
- Maintaining precise temperature control during this process is crucial for achieving optimal color intensity in the dye solution.
- Start by bringing the water to a gentle boil and then adding the vinegar. The vinegar helps in setting the color onto the eggshells.
- For every cup of water, adding two tablespoons of vinegar is recommended to ensure the eggs attain a rich red hue.
Once the water and vinegar reach a boil, reduce the heat to a simmer and let the mixture cook for a few minutes. This precise process is fundamental to creating a vibrant dye solution.
Add Food Coloring
After carefully boiling the water and vinegar, it is essential to maintain the heat at a simmer as we proceed to add the food coloring and prepare the dye solution for the red eggs.
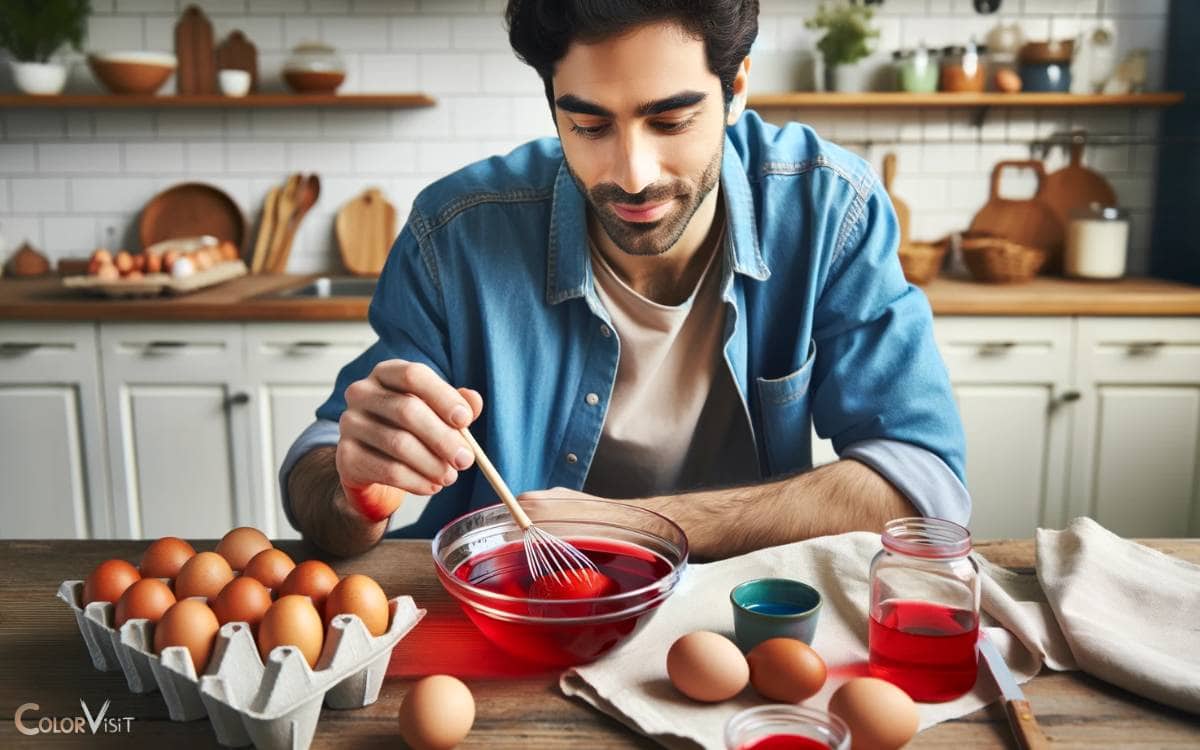
- To achieve vibrant red eggs, the mixing technique for adding food coloring is crucial. Start by slowly adding the food coloring to the simmering water and vinegar mixture.
- Use a gentle stirring motion to ensure even distribution of the color.
- This mixing technique is essential to achieve uniform color saturation on the eggs. It is important to monitor the color intensity as you mix, as the dye solution should be a deep red hue to ensure the eggs attain the desired color.
The proper mixing technique will result in consistent and vividly colored red eggs.
Stir to Mix
Upon achieving the deep red hue of the dye solution by slowly adding food coloring and employing a gentle stirring motion, the next step is to prepare the eggs for dyeing.
- The mixing technique used during the preparation of the dye solution is crucial to ensure uniform color saturation on the eggs.
- To achieve this, continue stirring the dye solution until the food coloring is fully integrated, and the color appears consistent throughout.
- It is essential to maintain a steady and controlled stirring motion to prevent air bubbles or uneven distribution of the dye.
- Once the dye solution is thoroughly mixed, the eggs can be carefully immersed for dyeing. This meticulous process ensures that the eggs will attain an even and vibrant red hue.
Step 3: Boiling the Eggs
When boiling the eggs for dyeing, it is crucial to adhere to the perfect boiling time to ensure that the eggs are properly cooked without becoming overdone.
Additionally, taking measures to prevent the eggs from cracking during the boiling process is essential for achieving a smooth and uniform dyeing outcome.
These points are critical in preparing the eggs for the dyeing process, and will contribute to the overall success of creating vibrant red eggs with food coloring.
Perfect Boiling Time
The optimal duration for boiling eggs to achieve the desired consistency is crucial for successful red egg dyeing.
Achieving vibrant colors requires precise timing to ensure the eggs are neither undercooked nor overcooked.
The following table provides guidance on boiling times based on the desired consistency of the egg:
| Egg Consistency | Boiling Time |
|---|---|
| Soft-boiled | 4-5 minutes |
| Medium-boiled | 7-8 minutes |
| Hard-boiled | 10-12 minutes |
Prevent Cracking Eggs
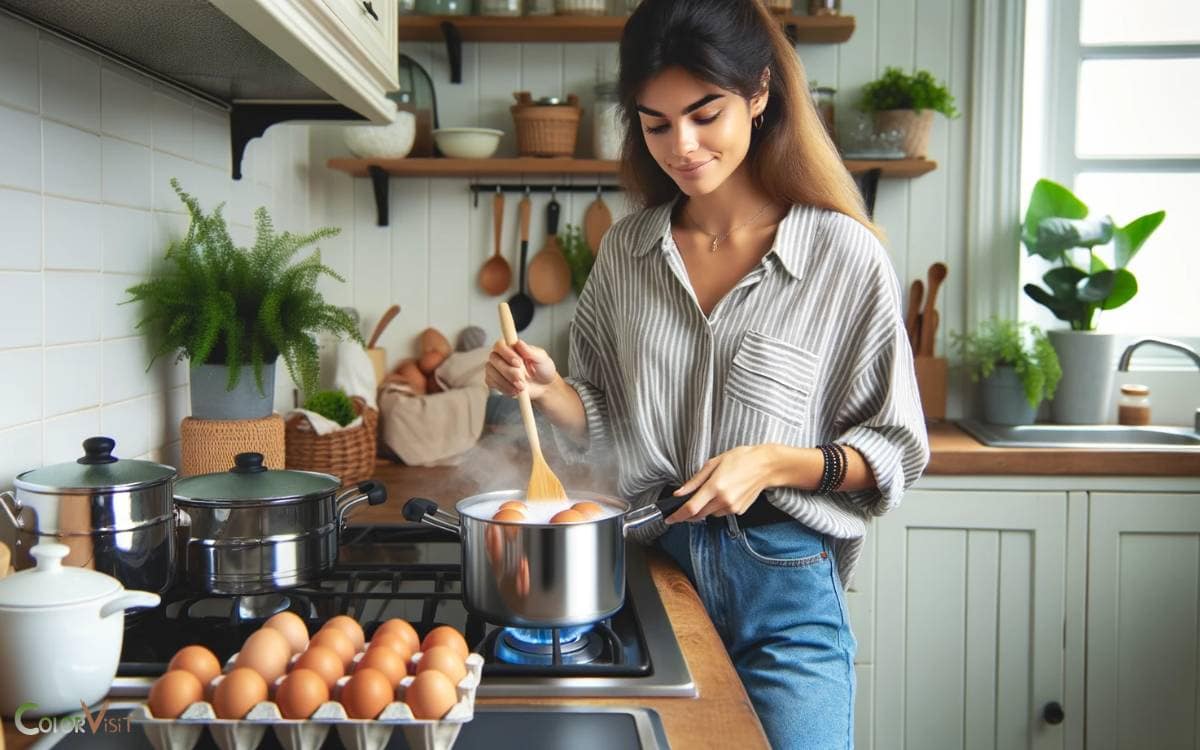
To prevent cracking eggs while boiling, it is essential to carefully place the eggs in the pot using a spoon rather than dropping them in. This method ensures gentle handling and minimizes the risk of impact-induced cracks.
Additionally, maintaining proper temperature control during the boiling process is crucial for avoiding egg breakage.
Here are some key steps for preventing cracks and ensuring intact eggs:
- Use eggs at room temperature to prevent sudden expansion and contraction.
- Add a teaspoon of vinegar to the water to help strengthen the eggshells.
- Ensure the water comes to a gentle boil before adding the eggs to avoid thermal shock.
- Use a timer to boil the eggs for the precise duration, preventing overcooking and potential shell damage.
Step 4: Coloring the Eggs
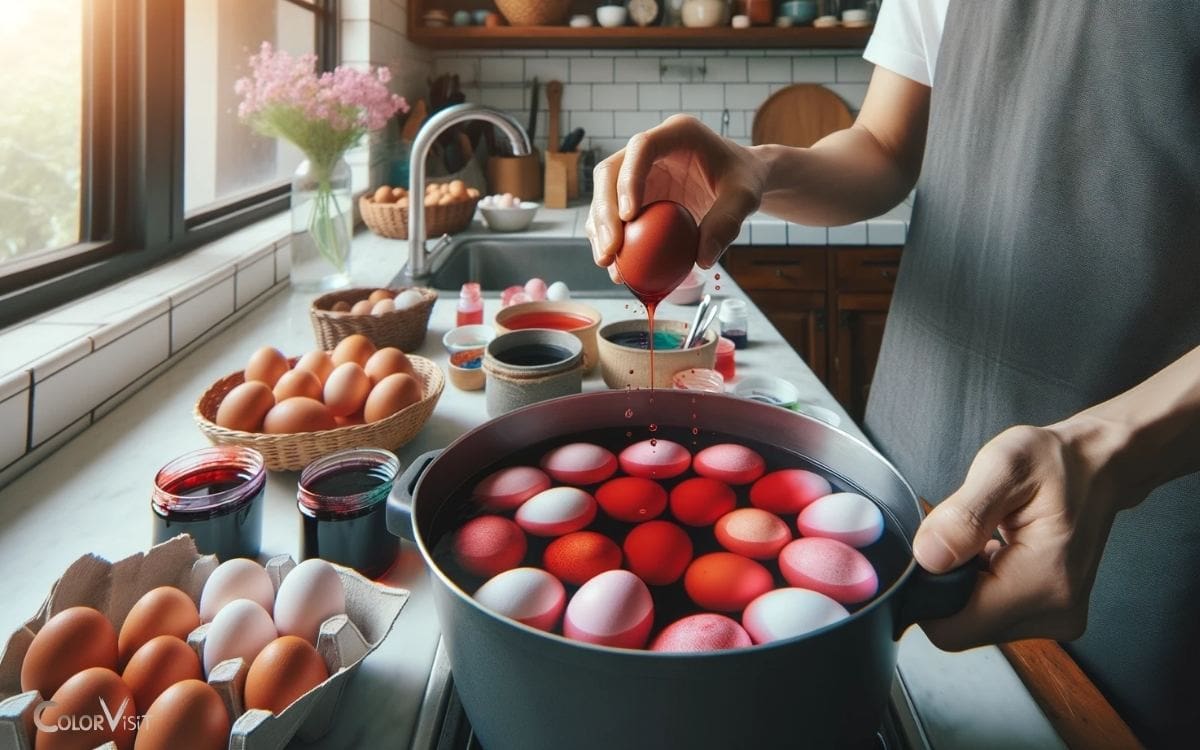
Color the eggs by carefully dipping them into the red food coloring solution.
- To achieve creative designs, consider using various coloring techniques such as dipping only a portion of the egg into the dye for a two-toned effect, or using rubber bands to create patterns by preventing the dye from reaching certain areas.
- Another method is to apply the dye using a fine-tipped brush to draw intricate designs or letters on the eggs.
- For a modern twist, experiment with geometric patterns or ombre effects by varying the dipping time.
- Once the eggs are dipped or decorated, allow them to dry completely before handling to avoid smudging the designs.
The next step after coloring is enhancing the color to achieve vibrant and long-lasting red eggs.
Step 5: Enhancing the Color
After coloring the eggs with the red food coloring solution, the next step is to enhance the color for vibrant and long-lasting red eggs.
- To achieve optimal color intensity, carefully monitor the temperature of the dye bath, ensuring it remains consistently warm but not boiling, as excessive heat can cause the color to darken unevenly.
- Consider natural dye options such as beet juice or cranberry juice to intensify the red hue and create unique patterns.
- Additionally, alternative methods like soaking the eggs in the dye for an extended period or adding vinegar to the dye solution can enhance color absorption.
These techniques contribute to producing deeply pigmented red eggs with a lasting, vibrant appearance.
Step 6: Drying and Displaying the Eggs
Once the eggs have achieved the desired color intensity, carefully remove them from the dye bath and place them on a drying rack to air dry for at least 30 minutes.
- This crucial step ensures that the dye sets properly and prevents any smudging or color transfer.
- Once dry, the red eggs can be displayed in a variety of creative decorations such as arranging them in a decorative basket, nest, or even stringing them together to create a vibrant garland.
- When it comes to egg storage, it is important to keep them refrigerated if they are to be consumed.
If the eggs are for decorative purposes, they can be displayed at room temperature, but it’s best to avoid direct sunlight to prevent any color fading.
Tips for Creating Patterns
Upon achieving the desired color intensity and displaying the dried red eggs, incorporating patterns can be an artistic way to further enhance their visual appeal.
To create intricate designs, consider using natural dyes and the following tips:
- Use wax resist: Apply wax designs on the red eggs before dyeing them to create patterns by leaving the waxed areas undyed.
- Experiment with layering: Dye the eggs with lighter colors first, let them dry, and then apply wax or tape to create patterns before dyeing them with darker colors.
- Utilize stencils: Place stencils on the eggs and apply dye to create precise and intricate designs.
- Try marbling: Dip the eggs in various colored dyes, then swirl them to create a marbled effect for a unique and visually appealing pattern.
These techniques will elevate the visual impact of the red eggs, making them stand out with innovative and captivating designs.
Conclusion
The process of dyeing red eggs with food coloring requires careful selection of eggs and preparation of the dye solution.
The next step involves boiling the eggs, followed by coloring and enhancing the color. Attention to detail and precision in each step will result in beautifully colored red eggs, symbolizing the celebration of Easter or other festive occasions.
By following these technical and analytical steps, one can create vibrant and visually appealing red eggs for display and enjoyment.
