How to Dye Your Hair Red with Food Coloring? 6 Steps!
Dyeing your hair red with food coloring is a safe, non-toxic, and cost-effective method. This
DIY approach allows you to attain vibrant red shades without using traditional hair dyes, making it a perfect solution for those looking for an innovative way to change their appearance.
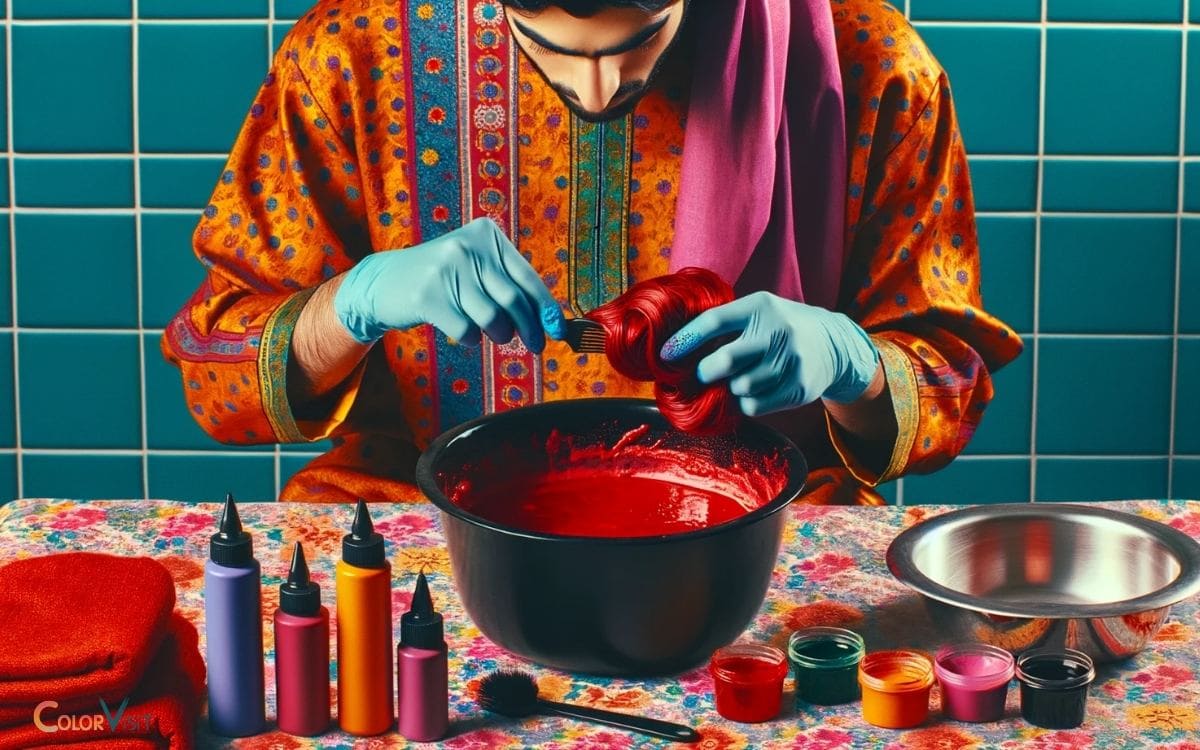
Food coloring is a non-abrasive dye that can be used to change your hair color temporarily. To dye your hair red with food coloring, you need to mix it with a conditioner and apply it to your hair.
The process involves:
Food coloring is not just for culinary arts anymore. With proper application, it can be used to temporarily change your hair color, providing a unique, fun, and non-damaging alternative to traditional hair dyes.
Key Takeaway
Step 1: Choosing the Right Food Coloring
Selecting the appropriate food coloring for dyeing your hair red is a crucial step in achieving the desired shade and minimizing potential damage.
- When choosing dye colors, it’s essential to consider the natural color of your hair and the shade of red you want to achieve.
- For a vibrant, true red, opt for a bright red food coloring. If you desire a deeper, more burgundy tone, mix in a small amount of green food coloring to counteract the natural yellow undertones in your hair.
- Understanding different hair dyeing techniques is crucial. For a more natural look, consider the balayage technique, which involves hand-painting the dye onto select strands for a sun-kissed effect.
Experimenting with various techniques and color combinations can lead to innovative and personalized results.
Step 2: Preparing Your Hair for Dyeing
Before applying food coloring to your hair, it’s important to conduct a hair strand test to ensure the color turns out as expected.
Additionally, protecting your scalp from potential irritation is crucial, so consider using a barrier cream or petroleum jelly along the hairline.
If you need to remove any existing color from your hair, there are various methods available, such as using clarifying shampoo or vitamin C treatments.
Hair Strand Test
Prior to dyeing your hair with food coloring, it is essential to routinely perform a hair strand test to assess the potential outcome and ensure the dye adheres properly.
- This test is crucial for maintaining hair health and preventing color fading.
- By conducting a strand test, you can evaluate how your hair will react to the dye, especially if it’s the first time using food coloring as a hair dye.
- It also allows you to determine the optimal duration for leaving the dye on to achieve your desired shade of red.
Additionally, the test helps in identifying any allergic reactions or adverse effects on your scalp.
Once the strand test confirms the desired outcome, you can proceed with confidence to dye your hair.
Scalp Protection Methods
When it comes to protecting your scalp and ensuring a smooth application of food coloring, it’s crucial to consider protective measures and account for any skin sensitivity.
Here are three scalp protection methods to keep in mind:
- Apply a thin layer of petroleum jelly or coconut oil along your hairline to create a barrier between the dye and your skin.
- Use a plastic or silicone hair dye applicator brush instead of a metal one to prevent scratching or irritating the scalp.
- Conduct a patch test on a small area of your scalp to check for any allergic reactions or skin sensitivity to the food coloring.
Color Removal Options
To effectively prepare your hair for dyeing with food coloring, it is essential to regularly use clarifying shampoo to remove any existing color or product buildup.
- This step is crucial for achieving optimal results as it helps to strip away any residual color, which could interfere with the new red hue.
- Additionally, if you are looking to correct hair color fading or previous dye jobs, consider using a color remover specifically designed for semi-permanent or temporary colors.
- These products are gentle on the hair and can effectively lift out unwanted tones without causing excessive damage.
- It’s important to note that while these methods can assist in color removal, they may not completely eliminate all traces of previous hues, especially if they were deeply saturated.
Always perform a strand test and consult with a professional if you’re unsure about the best approach for your specific hair type and color history.
Step 3: Mixing the Red Dye Solution
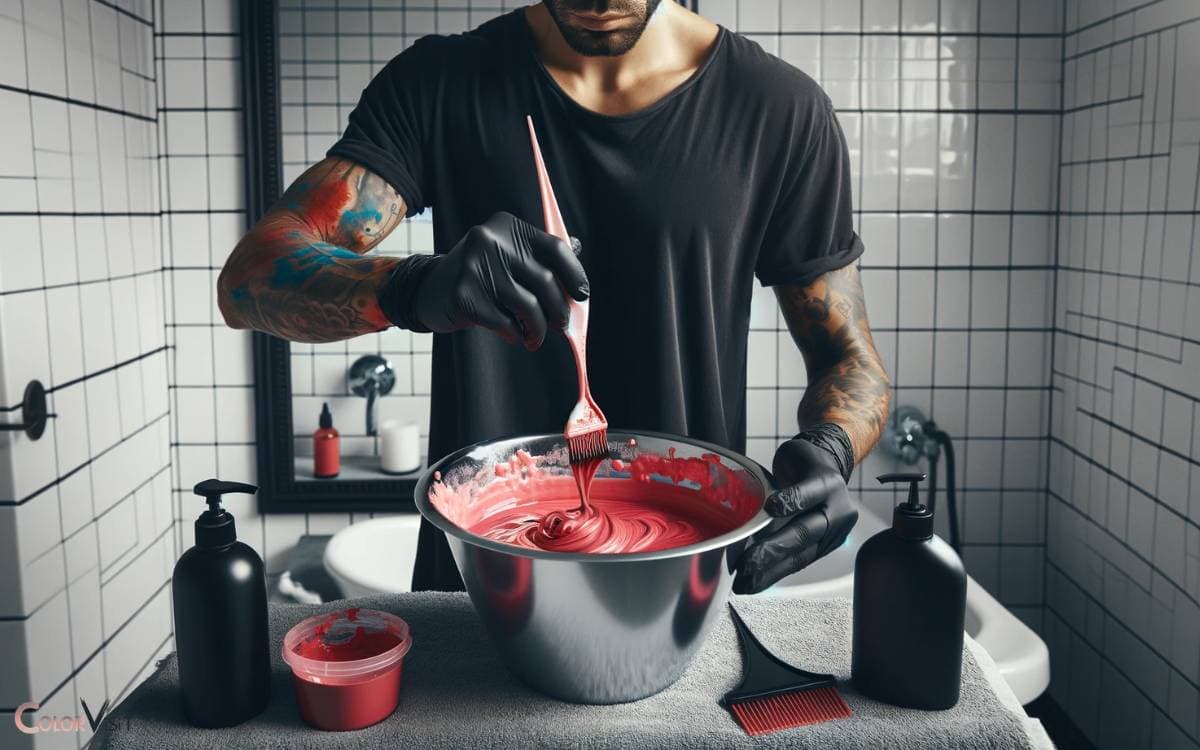
When mixing the red dye solution for dyeing your hair with food coloring, it’s essential to pay attention to the ratios of food coloring to water to achieve the desired shade.
Additionally, safety precautions should be considered, such as wearing gloves to avoid staining your hands and protecting your clothing and surroundings from potential spills.
Food Coloring Ratios
When mixing the red dye solution for dyeing your hair with food coloring, it is important to use the appropriate food coloring ratios to achieve the desired shade.
The right ratios will ensure the ideal food coloring consistency and color intensity for your hair dye.
Here are three key considerations for determining the food coloring ratios:
- Start with a small amount: Begin with a conservative ratio of food coloring to water or conditioner, as it’s easier to add more color than to dilute an overly intense mixture.
- Gradually adjust the ratios: Slowly increase the amount of food coloring to achieve the desired color intensity, mixing thoroughly after each addition.
- Test the mixture: Before applying the dye to your hair, test a small amount on a hidden section to assess the color and make any final adjustments.
Safety Precautions to Consider
Using the appropriate amount of protective gloves and eyewear is essential when mixing the red dye solution for hair coloring with food coloring.
Preventing staining and ensuring safety are vital in the process. Prior to mixing, conduct an allergy test by applying a small amount of the dye solution to the skin to check for any adverse reactions.
To further ensure safety, here are some precautions to consider:
| Safety Precautions | Importance |
|---|---|
| Wear protective gloves | Prevents skin staining |
| Use protective eyewear | Avoids eye irritation |
| Conduct allergy test | Prevents adverse reactions |
Taking these precautions will not only protect you from staining and potential allergies but also guarantee a safe and enjoyable hair coloring experience.
Application Techniques
To achieve the desired red hair color using food coloring, it is essential to carefully mix the red dye solution following precise application techniques.
When preparing the red dye solution, consider the following blending techniques:
- Mix the food coloring with a carrier substance, such as conditioner or alcohol, to create a smooth and workable consistency.
- Gradually add the food coloring to the carrier substance until the desired shade is achieved, ensuring thorough blending to avoid streaks or uneven color distribution.
- Conduct a strand test to assess the color outcome and make adjustments if necessary before applying the dye solution to the entire hair.
Step 4: Applying the Food Coloring to Your Hair
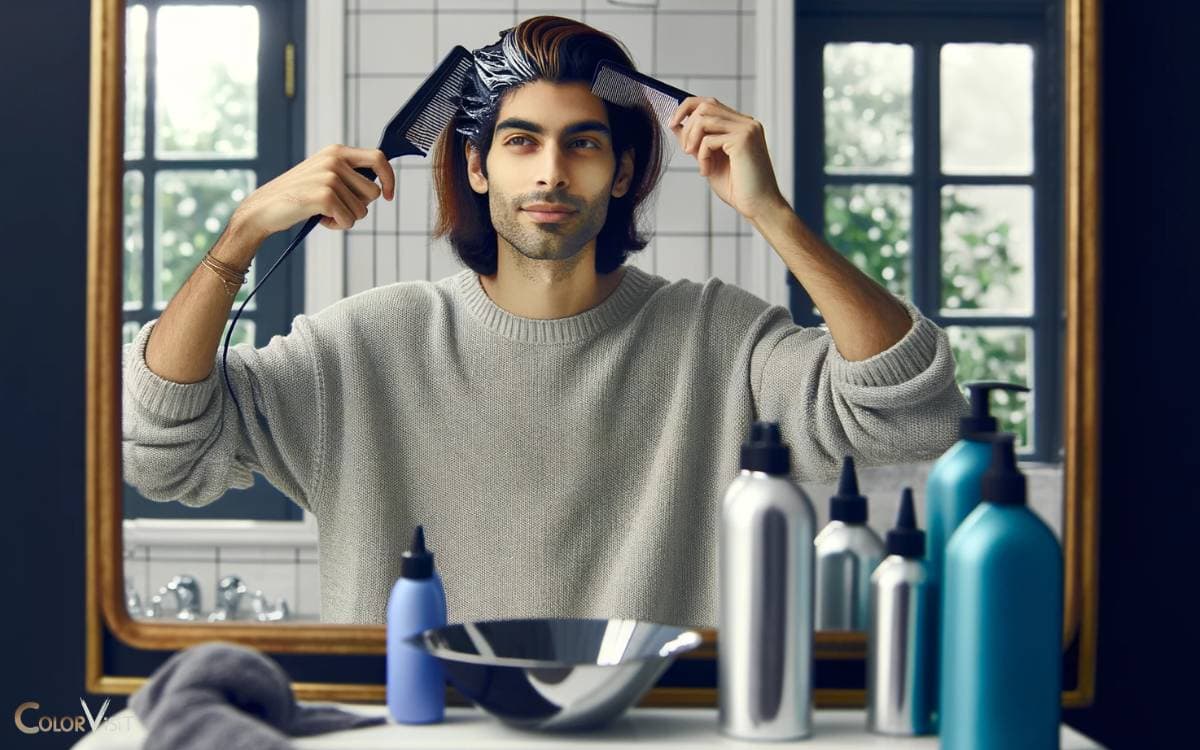
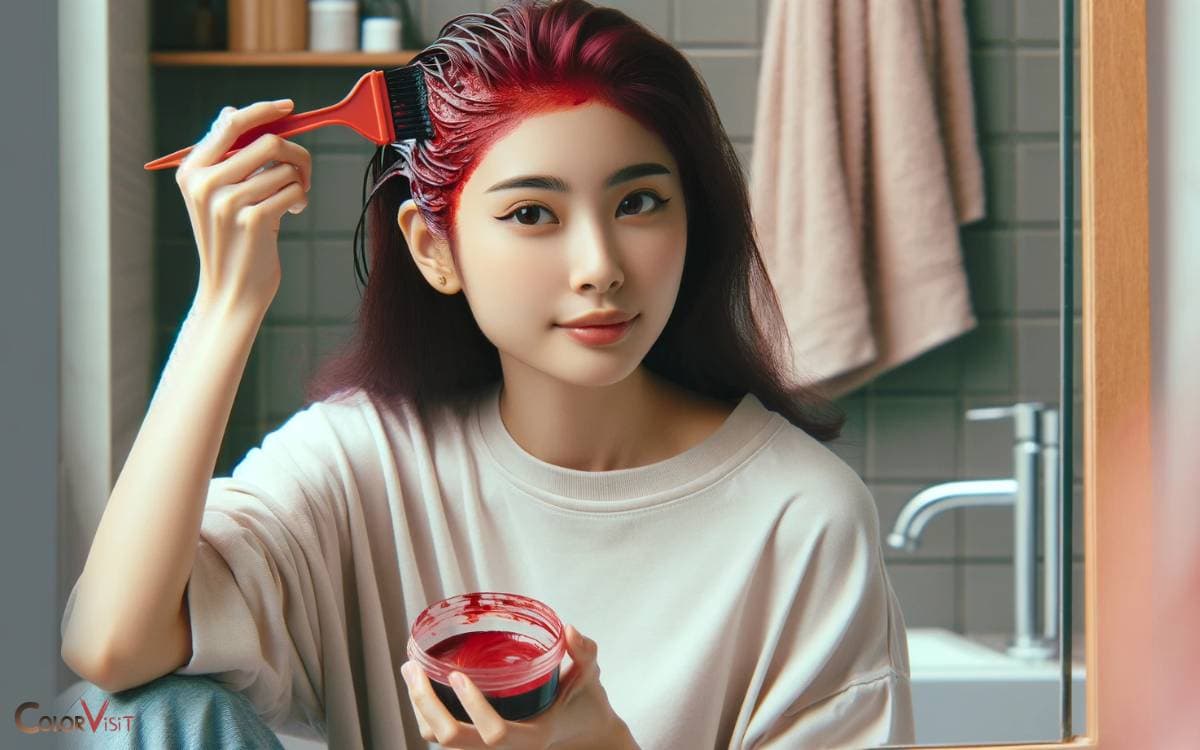
After preparing the food coloring mixture, carefully apply it to your hair using a brush or applicator.
- To ensure optimal color penetration, start by sectioning your hair and applying the mixture evenly from roots to ends.
- If you have fine or straight hair, consider adding a small amount of conditioner to the mixture to help it adhere better.
- Those with curly or textured hair may benefit from slightly dampening their locks before application to enhance color absorption.
- After applying the food coloring, cover your hair with a shower cap to trap heat, aiding in the dye setting process. Let the color develop for at least 30 minutes before rinsing with cold water.
Following this method will help achieve vibrant red hues with food coloring, regardless of your hair texture.
Step 5: Letting the Color Set
Allow the food coloring mixture to set in your hair for a minimum of 30 minutes, ensuring vibrant red hues are achieved.
- This setting time is crucial for the color intensity to develop and penetrate the hair shaft effectively.
- While waiting for the color to set, you can engage in activities such as reading a book, catching up on your favorite show, or doing a quick meditation session to pass the time.
- It’s also the perfect opportunity to snap some selfies and share your hair transformation journey on social media.
After the setting time has elapsed, you’ll be ready to move on to the next step of rinsing and caring for your red hair, ensuring your stunning new red locks are well-maintained and vibrant.
Step 6: Rinsing and Caring for Your Red Hair
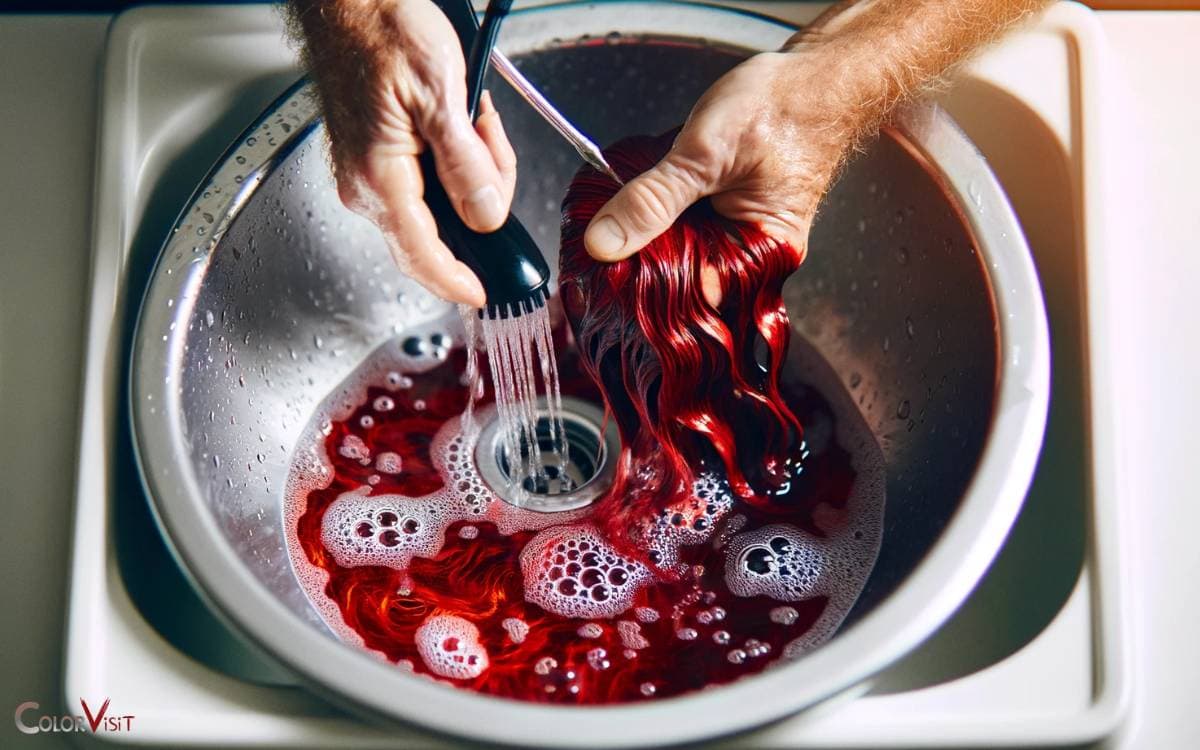
Once the color has set, thorough rinsing and proper care are essential to maintain the vibrancy and health of your newly dyed red hair.
- When caring for your red hair, use a sulfate-free shampoo and cold water to prevent fading. Rinse with cold water to seal the hair cuticle and lock in the color.
- Conditioning regularly and using a color-protecting conditioner can also help maintain vibrant color.
Avoid excessive heat styling and use heat protection products when necessary to prevent color damage. Additionally, limit sun exposure and consider wearing a hat to protect your red hair from UV rays.
Conclusion
Dyeing your hair red with food coloring can be a fun and inexpensive way to change up your look.
By carefully choosing the right food coloring, preparing your hair, mixing and applying the dye solution, and letting the color set before rinsing and caring for your red hair, you can achieve a vibrant and bold new look.
Embrace the fiery red hue and turn heads with your stunning, show-stopping hair transformation.
